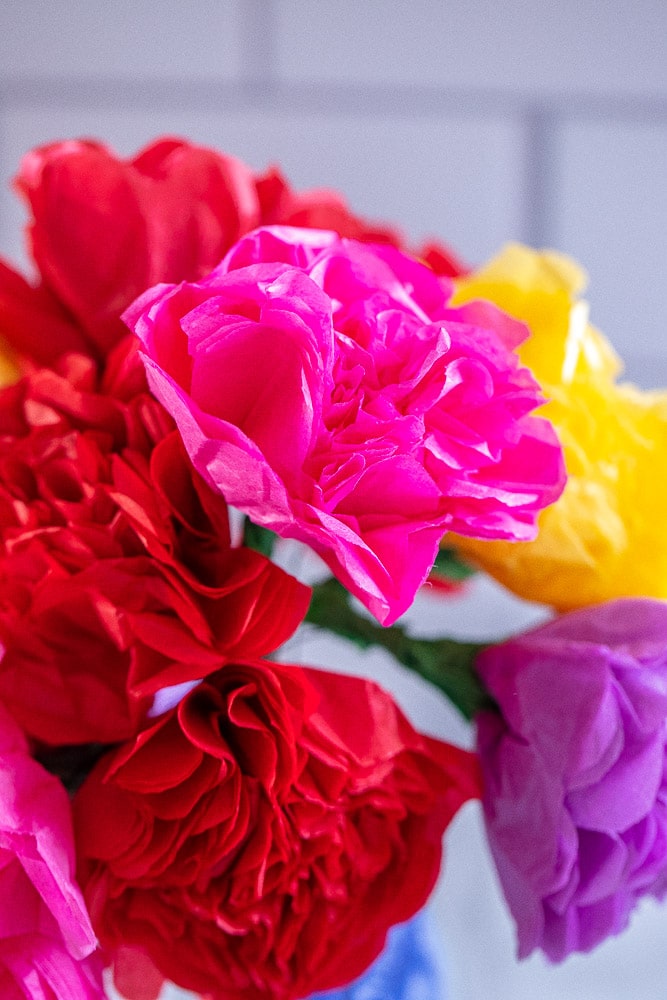
Today we’re showing you step-by-step how to make these beautiful Tissue Paper Roses! They’re a fun and beautiful children’s craft all year long, but they’re especially perfect to make for Valentine’s Day and Mother’s Day!
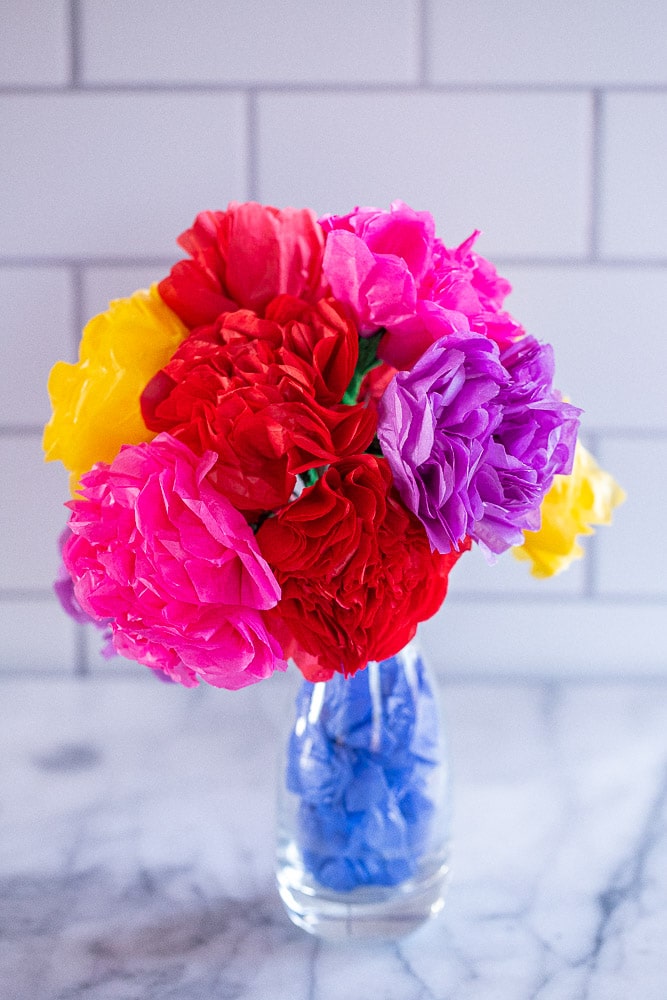
Tissue paper flowers are one of my favorite crafts to make! Last year, I made rainbow ones and created a crown out of them but today we’re doing a simple Valentine’s Day Tissue Paper Rose bouquet! My children love helping make them as much as they love playing with them.
Tissue paper roses can look complicated to make, but they’re actually really easy and can look very similar to real roses! I’m going to walk you through the step-by-step instructions so you can get started making them today.
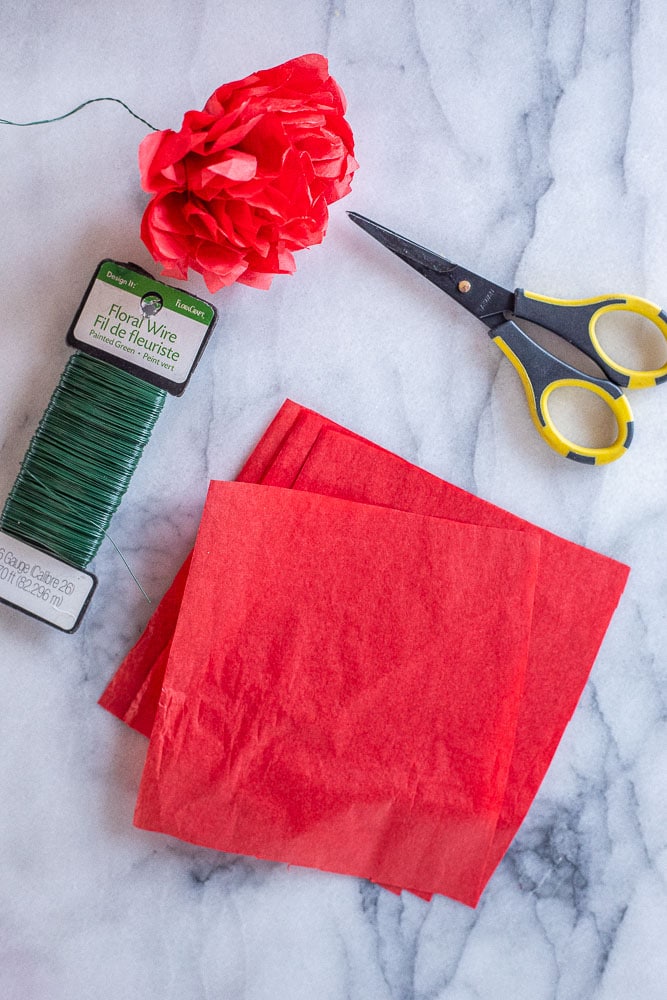
SUPPLIES NEEDED TO MAKE TISSUE PAPER ROSES
- Tissue Paper – You can use any color of tissue paper you like. You can do all red roses, white roses, or you can make multi-colored roses like I did.
- Floral Wire – The floral wire helps hold the tissue paper flower together. If you don’t have floral wire you could also use a pipe cleaner, floral tape, string, or even a hot glue gun.
- Other – You will also need scissors and if you want to make them into a whole bouquet that will stand up in a vase you will need a stick to attach them to.
HOW TO MAKE A TISSUE PAPER FLOWER
Tissue paper flowers can look intimidating but they’re very easy to make!
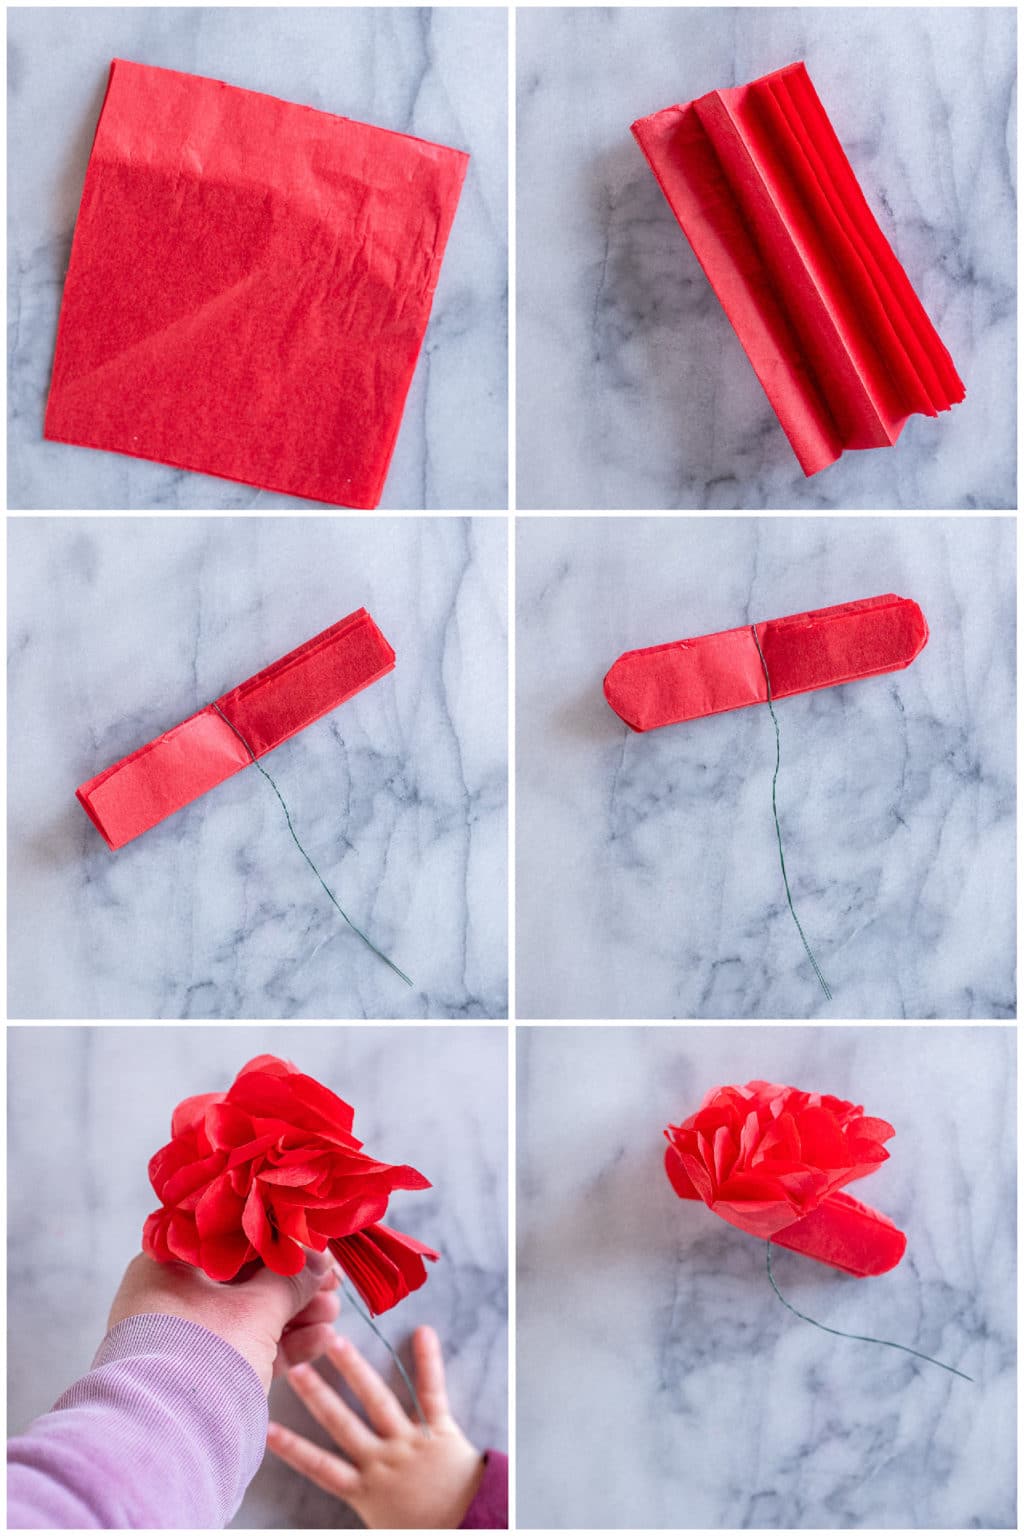
- You start by cutting your tissue paper into squares. The number of pieces you layer is up to you. If you want a super full flower add more pieces of tissue paper. If you want a simple flower, just use a few. If you want a green stem make sure to place a green piece of tissue paper on the very bottom of the rose. It’s good if you can have the pieces be pretty much the same size but don’t worry if they’re not exact. You will also want to think about petal size here. If you want small petals then you need smaller squares.
- Next, stack your tissue paper squares on top of each other and fold like an accordion. The smaller the folds, the more petals your flower will have. If you have added a piece of green tissue paper for the stem, make sure it is on the bottom.
- Cut a small piece of floral wire and wrap it around the middle of the folded tissue paper. You want the side with the loose, open tissue paper to be at the top. Twist together any excess wire. you can use it to help attach to a stick, or green pipe cleaner if you want or to stick into a plant.
- Carefully start teasing up the individual pieces of tissue paper. You can do one side and then the next or you can alternate sides. Once all the pieces are up, take your hand and give the flower a little squeeze just to help shape it. If you have used a green piece at the end, you can fold it down and use your fingers to wrap it around the wire to form a small green stem.
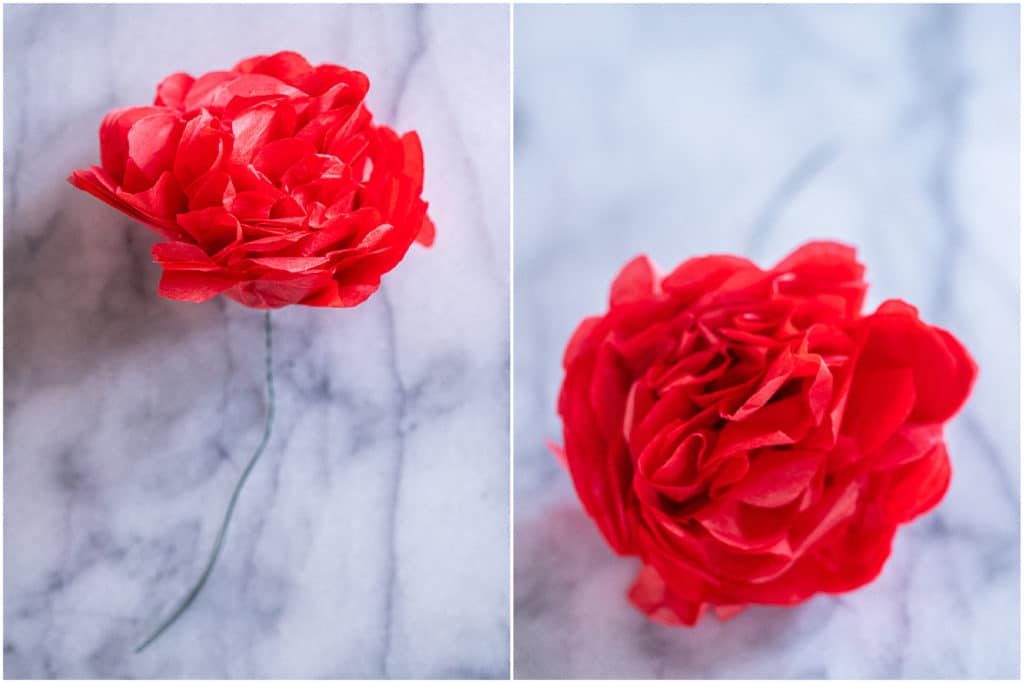
TIPS ON MAKING THE MOST PERFECT TISSUE PAPER ROSES
- Be gentle! I have ripped my fare share of tissue paper because it’s super light and rips easily. But, just try to be as careful as you can so you keep all the tissue paper intact. No big deal if you rip a few though.
- Experiment with different colors! You can either make flowers that are all one color or you can layer different colored tissue paper squares on top of each other and make multi-colored flowers, like I did here.
- Don’t layer too many pieces of tissue paper on top of each other. If you have too many pieces the flower will be super full and might be a little hard to fold each of them up.
- Check out my instagram video on how I made them. I know these are also TikTok- make a craft craze right now!
LOOKING FOR MORE KID FRIENDLY VALENTINE ACTIVITIES?
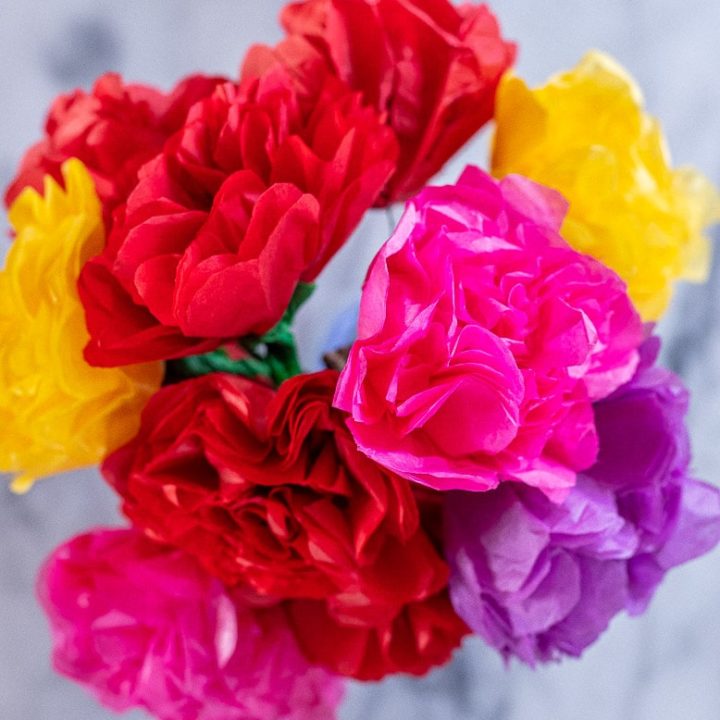
Tissue Paper Roses
These Tissue Paper Roses are easy create and make the perfect kid friendly Valentine's Day project!
Materials
- Tissue Paper - all one color or multiple colors
- Floral wire
Tools
- Scissors
Instructions
- You start by cutting your tissue paper into squares. The number of pieces you layer is up to you. If you want a super full flower add more pieces of tissue paper. If you want a simple flower, just use a few. If you want a green stem make sure to place a piece of green tissue paper on the very bottom. It's good if you can have the pieces be pretty much the same size but don't worry if they're not exact.
- Next, stack your tissue paper squares on top of each other and fold like an accordion. The smaller the folds, the more petals your flower will have. If you have added a piece of green tissue paper for the stem, make sure it is on the bottom.
- Cut a small piece of floral wire and wrap it around the middle of the folded tissue paper. You want the side with the loose, open tissue paper to be at the top. Twist together any excess wire. you can use it to help attach to a stick if you want or to stick into a plant.
- Carefully start teasing up the individual pieces of tissue paper. You can do one side and then the next or you can alternate sides. Once all the pieces are up, take your hand and give the flower a little squeeze just to help shape it. If you have used a green piece at the end, you can fold it down and use your fingers to wrap it around the wire to form a small green stem.
Leave a Reply