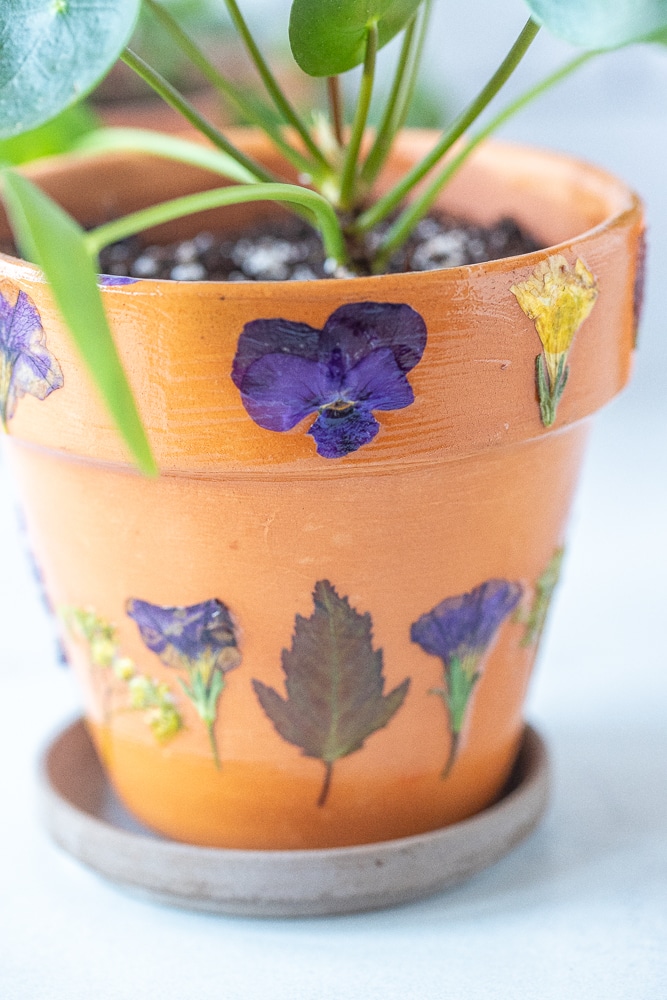
These Pressed Flower Pots are beautiful and fun to make! They would be great for a lovely Mother’s Day gift and can be enjoyed all year long!
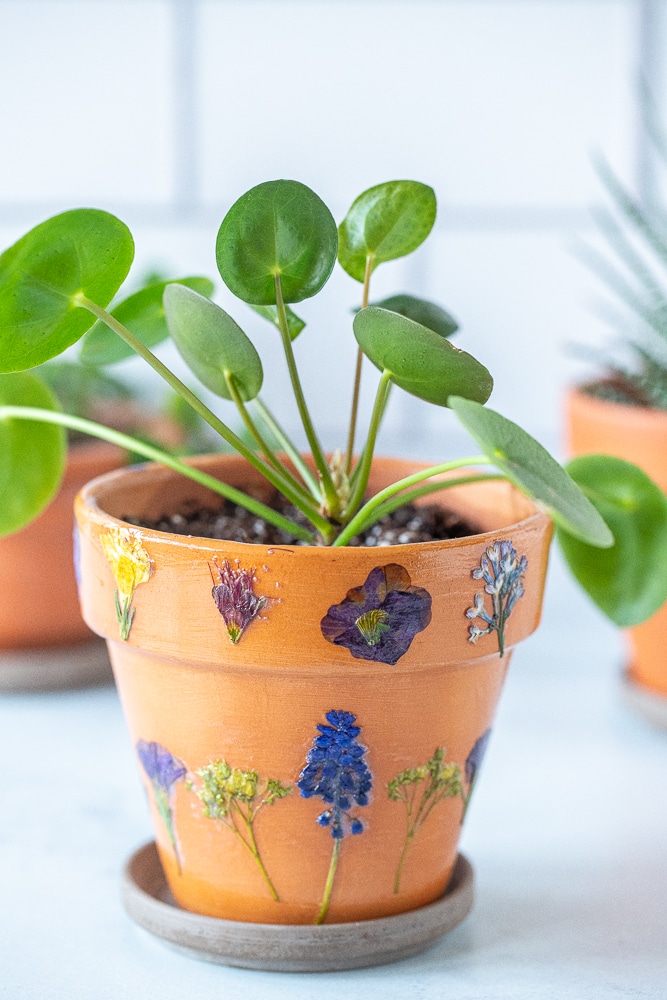
Mother’s Day is right around the corner and these Pressed Flower Pots are the perfect gift that kids can make themselves! They can be filled with flowers, houseplants, cacti, fake plants or even something like marbles. They can also be decorated with just a few flowers are completely covered.
How To Press Flowers
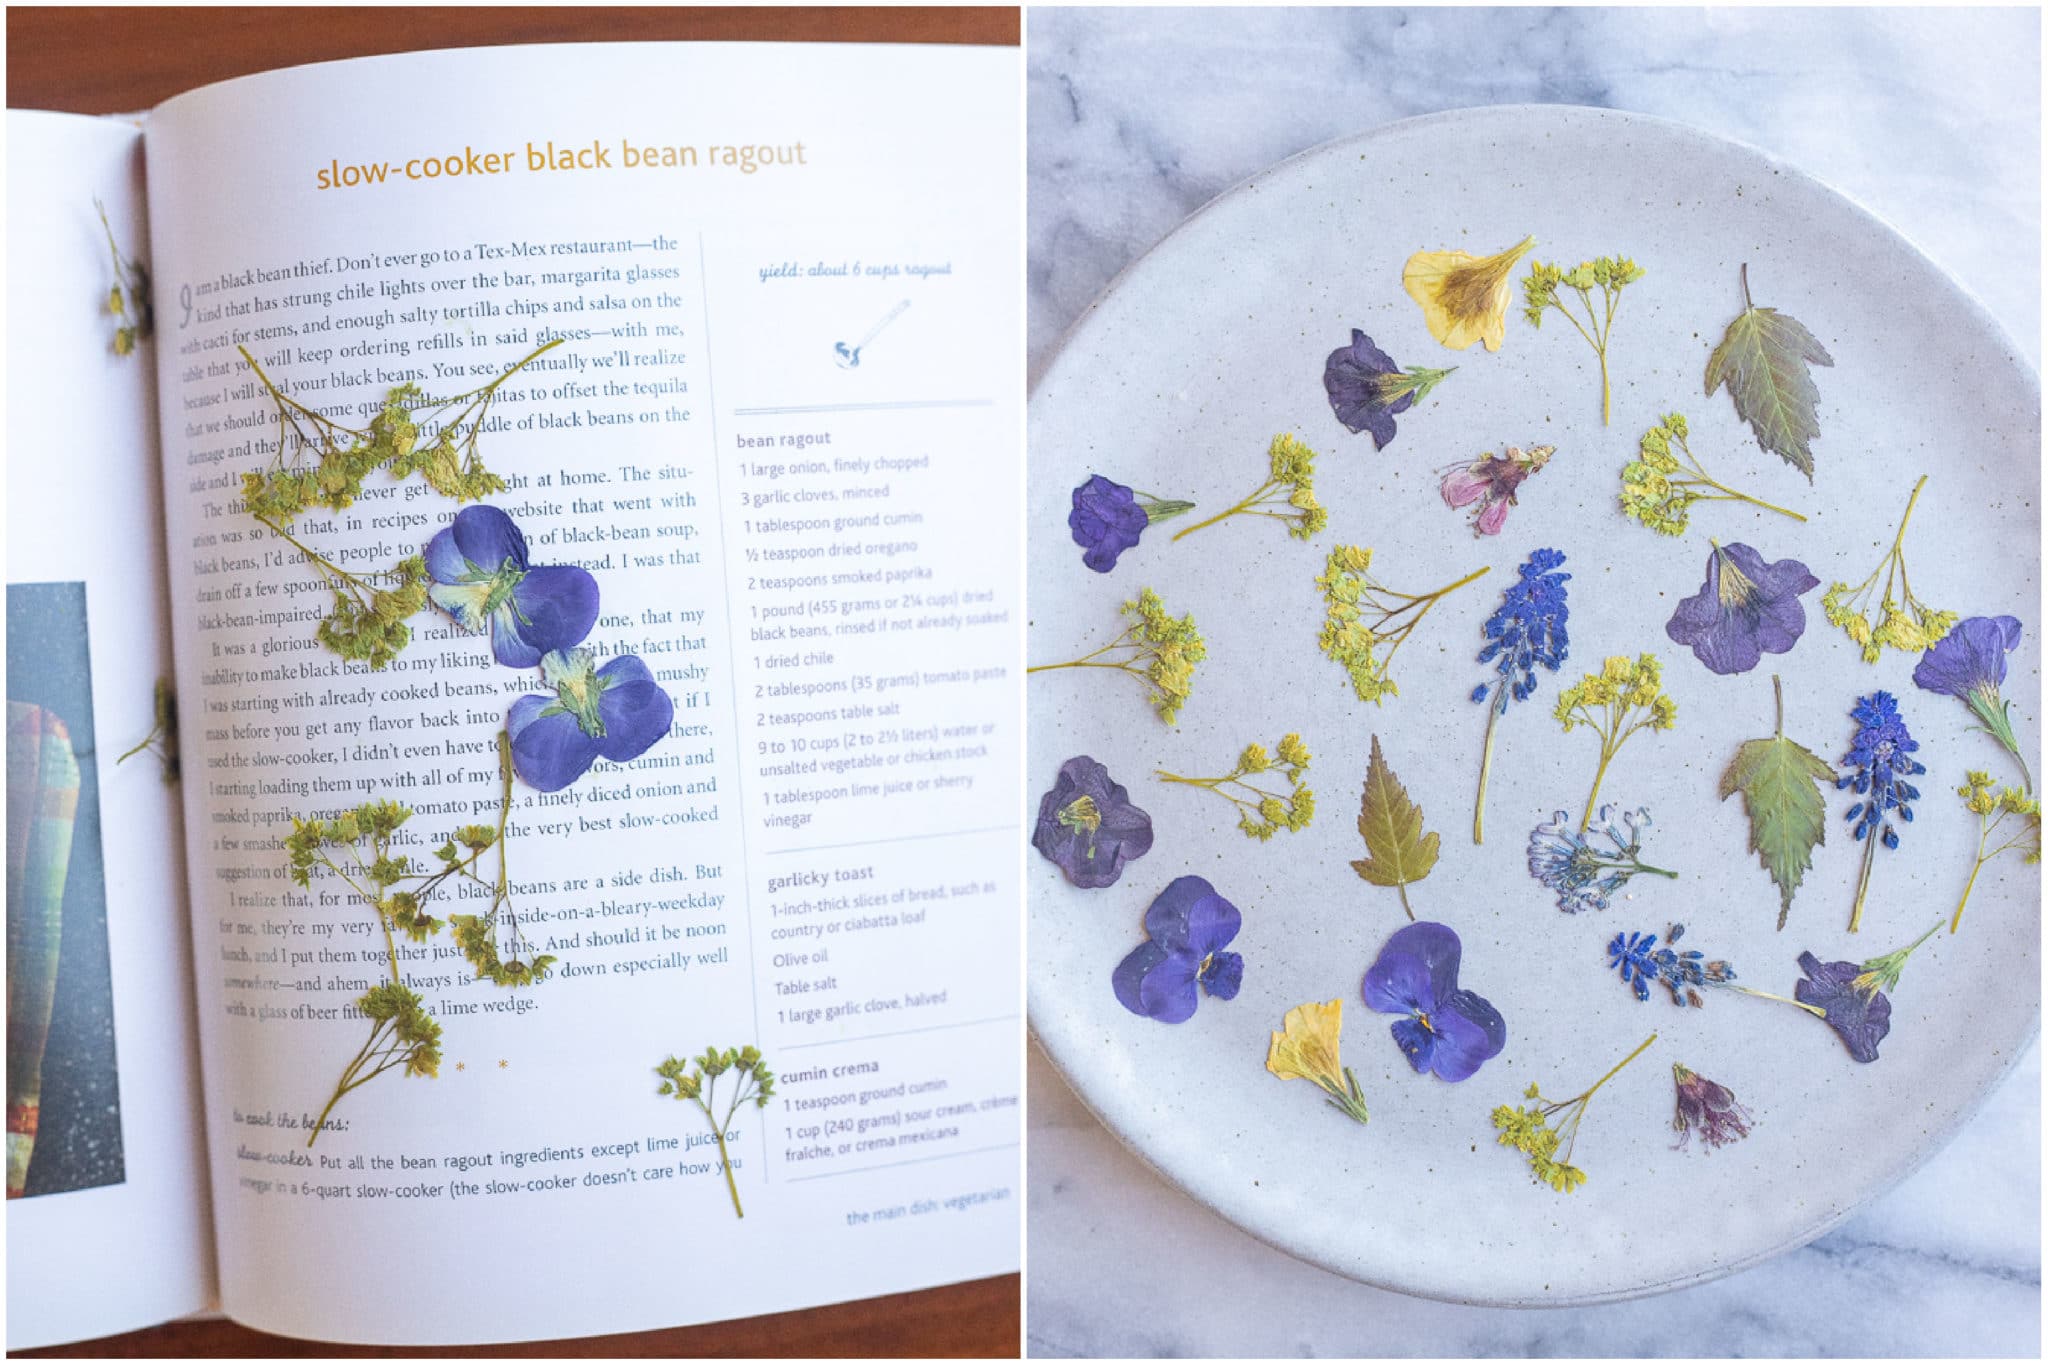
You will need a few pressed flowers for these Pressed Flower Pots. You can buy pre-pressed dried flowers online, or you can easily make your own! It does take a couple of weeks to fully press them but it can be a fun project for you and the kids.
- Collect your flowers/leaves – The best kind of flowers to press are ones that can easily be laid flat. I did use some grape hyacinth that I had pressed from last spring, but they will take much longer to press than a flower like a violet. Leaves work great too because they are naturally flat.
- Get a large, thick, book and open it up. Place the flowers on the page and carefully lay each one out exactly how you want them to look once pressed. You want to make sure none of the flowers are touching each other. If you want, you can lay them between wax or parchment paper before placing in the book.
- Close the book and place something heavy on top of it. I usually stack a few other books on top. Let sit for a few weeks, you can check them every now and then to see their progress. They are done once they are completely dry andpaper-like. Make sure to handle them very delicately because they can be especially fragile once pressed.
MATERIALS Needed To Make These Pressed Flower Pots
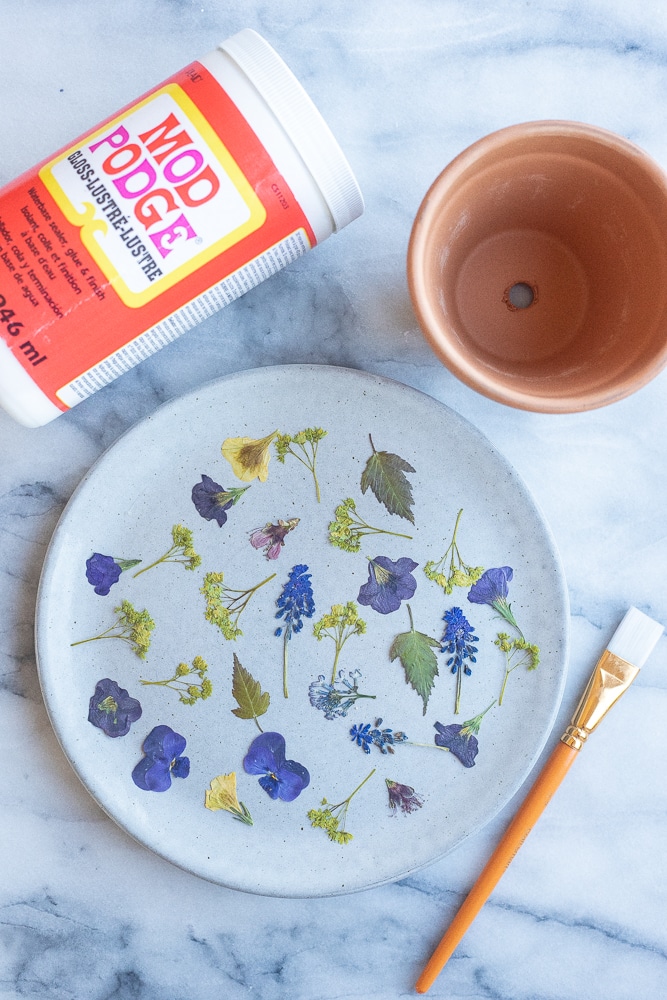
- Pressed Flowers – As I said above, you can press your own flowers or you can buy them online. Both are great options! I like to press our garden flowers throughout the spring and summer months so that we always have pressed flowers on hand for crafts like this.
- Terra-Cotta Pot – I used a small terra cotta pot that I bought at Lowes. Terra cotta pots are fairly cheap and I think they look great with the flowers on them. The size of the pot is completely up to you.
- Modge Podge – I used the glossy modge podge because I am not planning on putting this plant outside, but I would recommend the outdoor waterproof modge podge because it could be used outside and it will help protect the dried flowers a bit more than just the glossy one. I’m going to buy some of that if we make more of these! You want enough modge podge to give the inside and outside of the pot a few coats each.
- Paint Brush – You want to make sure to use a higher quality paint brush that won’t shed onto the pot when you are painting the modge podge on. I used a medium sized paint brush and it worked great for the small pot I had.
- Plant and Soil – It is up to you what kind of plant you put in. I did an indoor house plant but you can also do an outdoor plant as long as you seal the pot well.
How To Make These Beautiful Pressed Flower Terra Cotta Pots
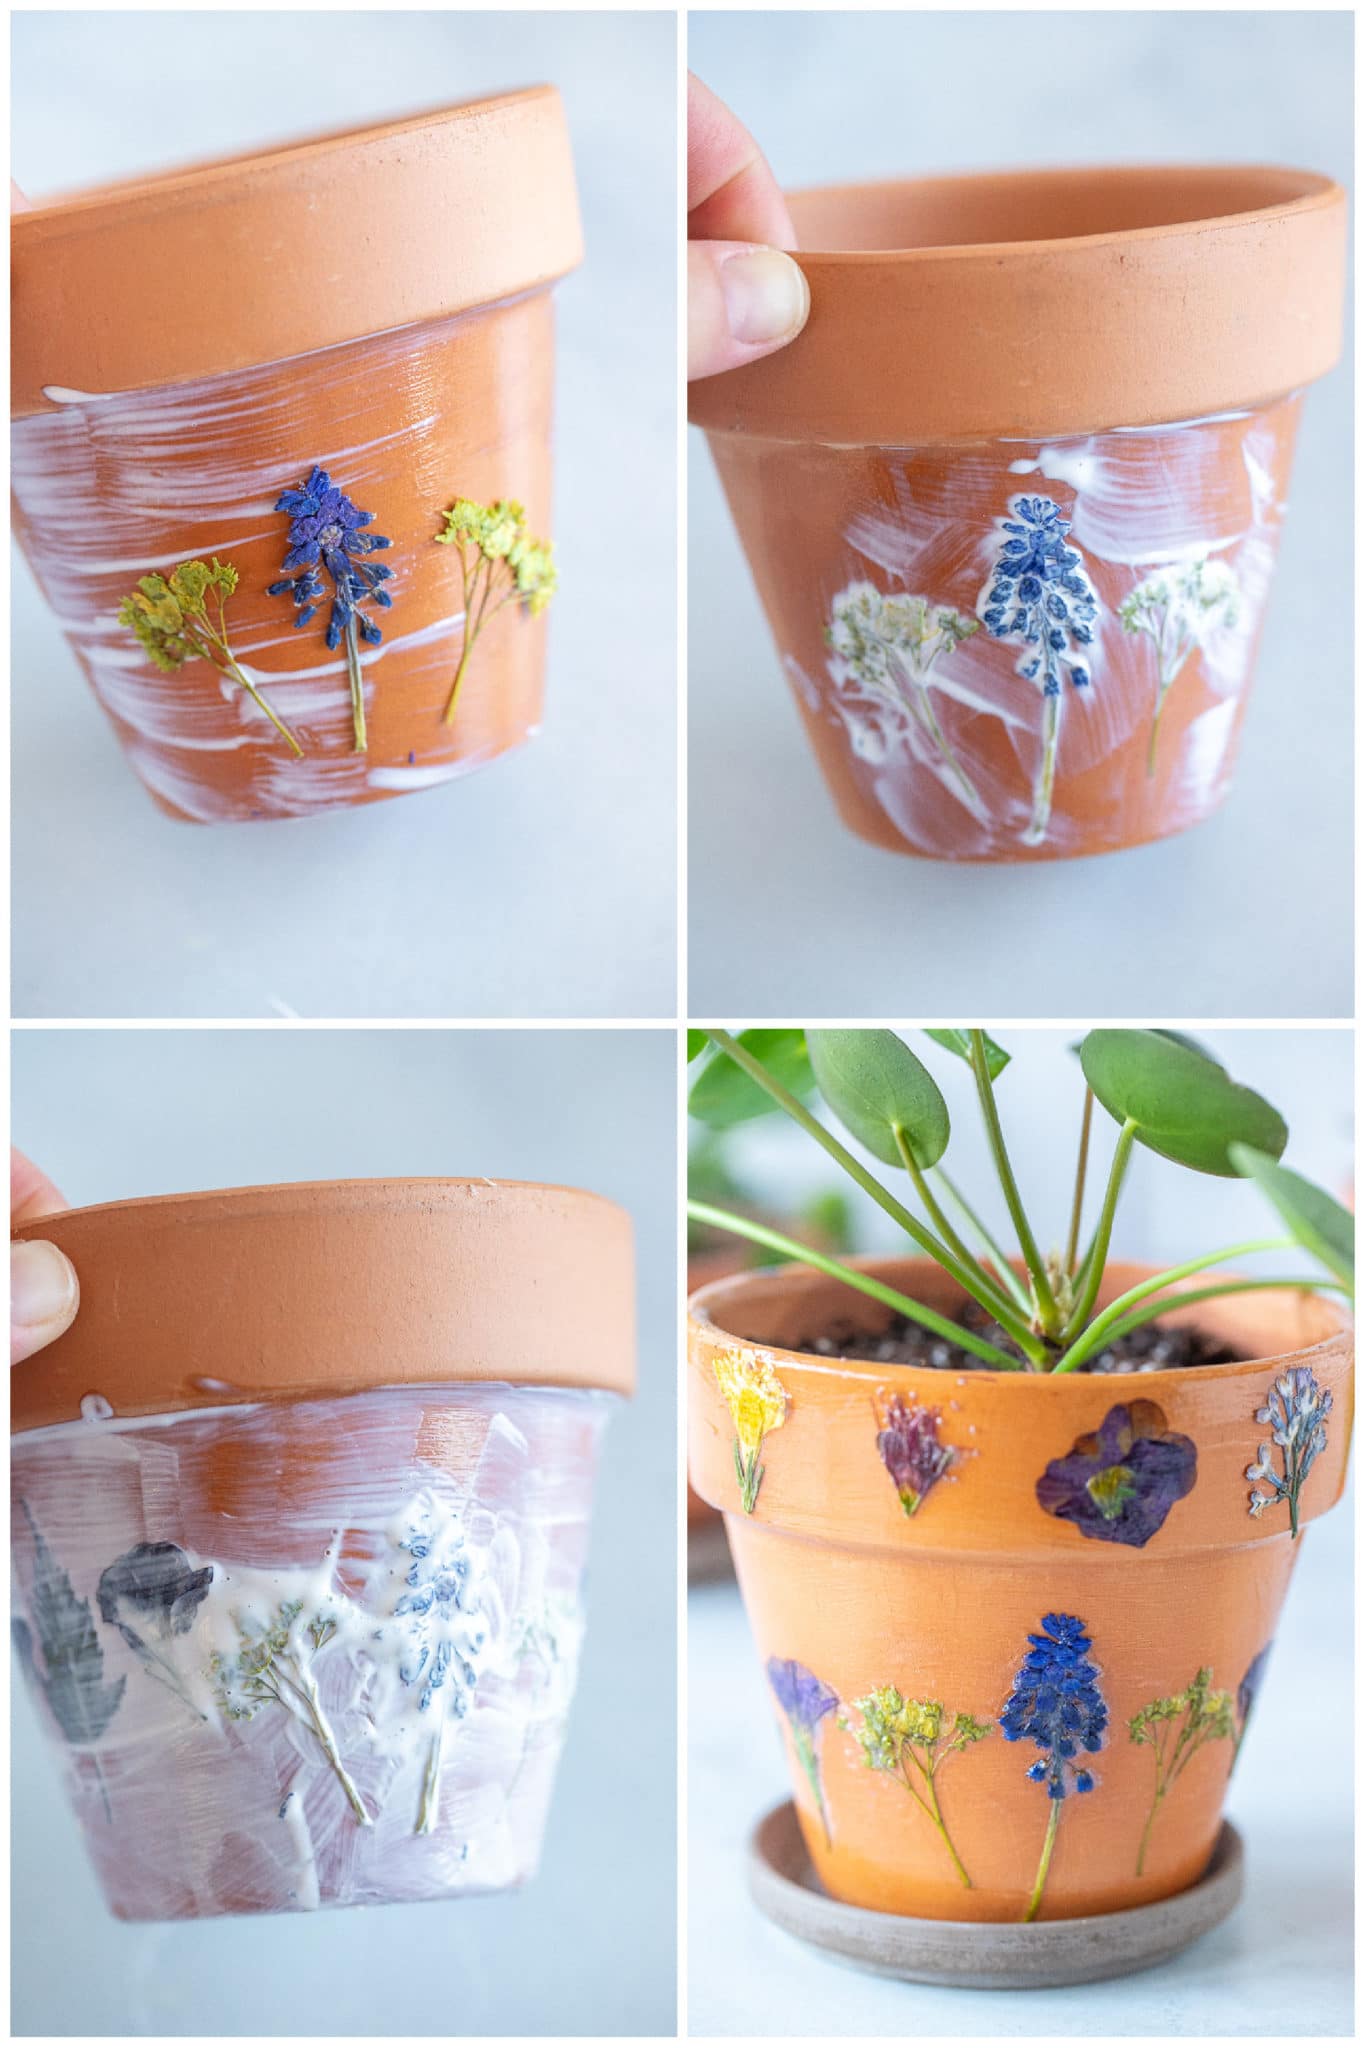
- Make sure to clean your pot of any dirt. I like to just use a dry towel to wipe it down so I don’t get it wet before adding the flowers to it. Use a paintbrush to brush the entire inside of the pot with modge podge. I like to do a few coats because this is what will make it so that the water doesn’t ruin the pressed flowers. You may want to use latex gloves so you don’t get your hands covered with modge podge. You can let the inside of the pot dry before decorating the outside, but it’s not necessary.
- You can do a pattern or just put them anywhere you like. Paint on a thin layer of the modge podge onto the outside of the pot and then gently apply your dried flowers. Press them down a bit with your finger to make sure they are secure on the pot.
- Once you have added all of your flowers, paint a thin layer of the modge podge over the top of the entire pot. Make sure that you are coating all of the flowers well, but you want to avoid little pools of the modge modge. Try to wipe away any excess that might build up while painting it on.
- Place the pot in a safe spot, inside or outside, and let dry overnight. Once your pot is completely dry you can fill it with soil and plant your plant. Water as necessary. As long as you have put a few coats of the waterproof modge podge on the inside and outside of the pot, it should hold up well with getting wet. I noticed that the spots where I had a little more of the modge podge didn’t do as well once I watered the plant, so make sure you wipe away as much excess as you can.
Pressed Flower Pot Frequently Asked Questions
- Will they get ruined when I water the plant? I’ve only just made these recently so I’m not quite sure if they will last forever, but just make sure to use the outdoor waterproof modge podge, or the glossy kind. Also, make sure to paint the inside of the pot as well as the outside more maximum waterproofness.
- Are some flowers better than others for pressing? Yes, I would steer clear of flowers that are thicker and have more moisture in them, as they take longer to press and can be harder to stick to the pot.
- Can I put the pot outside? You can but it will fade more quickly than if you keep it indoors.
Have a question that we didn’t answer? Ask in the comment section below and I will get back to you ASAP!
Looking For More Kid’s Mother’s Day Craft Ideas?

Pressed Flower Pots
These beautiful Pressed Fower Pots are the perfect Mother's Day gift this year!
Materials
- Pressed Flowers, can be bought online or you can make them
- Terra-cotta pot, any size you like
- Modge Podge, I would recommend using the outdoor waterproof one or the glossy one
- Soil
- Plant, can be indoor or outdoor
Tools
- Paintbrush
- Latex gloves, optional
Instructions
- Make sure to clean your pot of any dirt. I like to just use a dry towel to wipe it down so I don't get it wet before adding the flowers to it. Use a paintbrush to brush the entire inside of the pot with modge podge. I like to do a few coats because this is what will make it so that the water doesn't ruin the pressed flowers. You may want to use latex gloves so you don't get your hands covered with modge podge. You can let the inside of the pot dry before decorating the outside, but it's not necessary.
- Get your pressed flowers out and think about how you want to arrange them on the pot. You can do a pattern or just put them anywhere you like. Paint on a thin layer of the modge podge onto the outside of the pot and then gently apply your dried flowers. Press them down a bit with your finger to make sure they are secure on the pot.
- Once you have added all of your flowers, paint a thin layer of the modge podge over the top of the entire pot. Make sure that you are coating all of the flowers well, but you want to avoid little pools of the modge modge. Try to wipe away any excess that might build up while painting it on.
Place the pot in a safe spot, inside or outside, and let dry overnight. - Once your pot is completely dry you can fill it with soil and plant your plant. Water as necessary. As long as you have put a few coats of the waterproof modge podge on the inside and outside of the pot, it should hold up well with getting wet. I noticed that the spots where I had a little more of the modge podge didn't do as well once I watered the plant, so make sure you wipe away as much excess as you can.
Notes
Pots can e used inside or outside, but will fade a little bit of out in the sun