These easy Twig Picture Frames are the perfect thoughtful Father’s Day gift! Your children will have fun gathering the materials and putting them together.
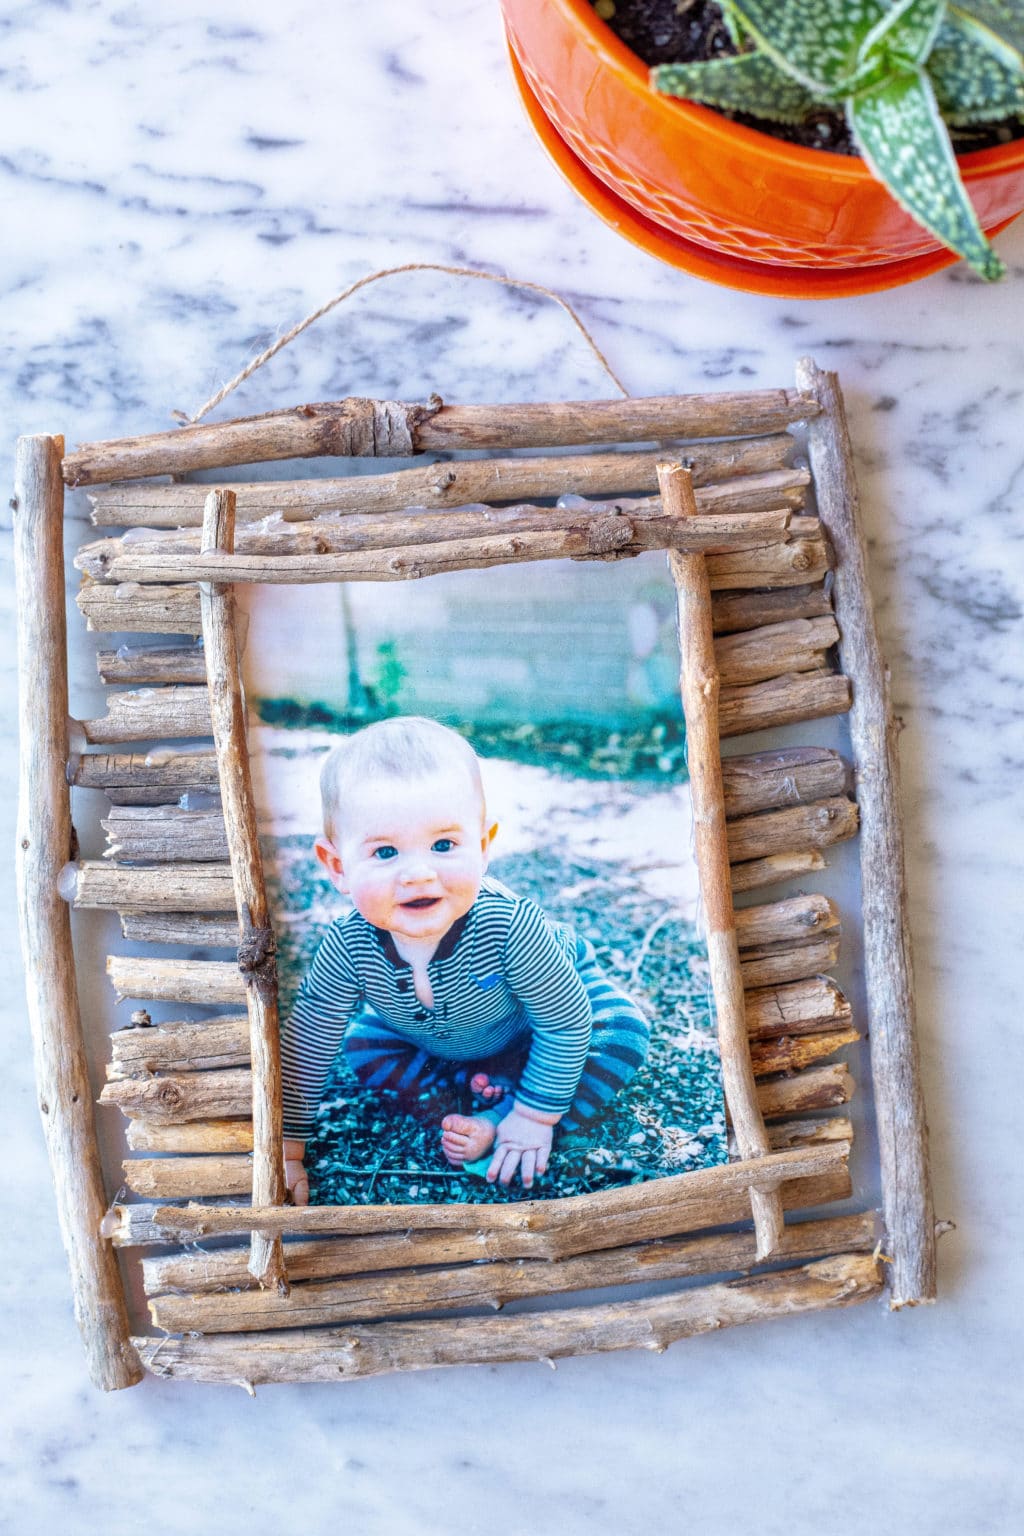
Father’s Day is just around the corner! I always struggle with choosing a unique Father’s Day gift for my husband that is also sentimental and thoughtful. These Twig Picture Frames are perfect because your kids will have so much fun both gathering the materials and putting them together.
I think the thing I love most about nature crafts is that it’s kind of like an activity and craft in one. You get to go outside and search for your materials and then you get to make them into something beautiful. You can really get your kids involved and have them help pick out the perfect sized twigs for these Twig Picture Frames. They can also hunt for other special nature treasures to add to them.
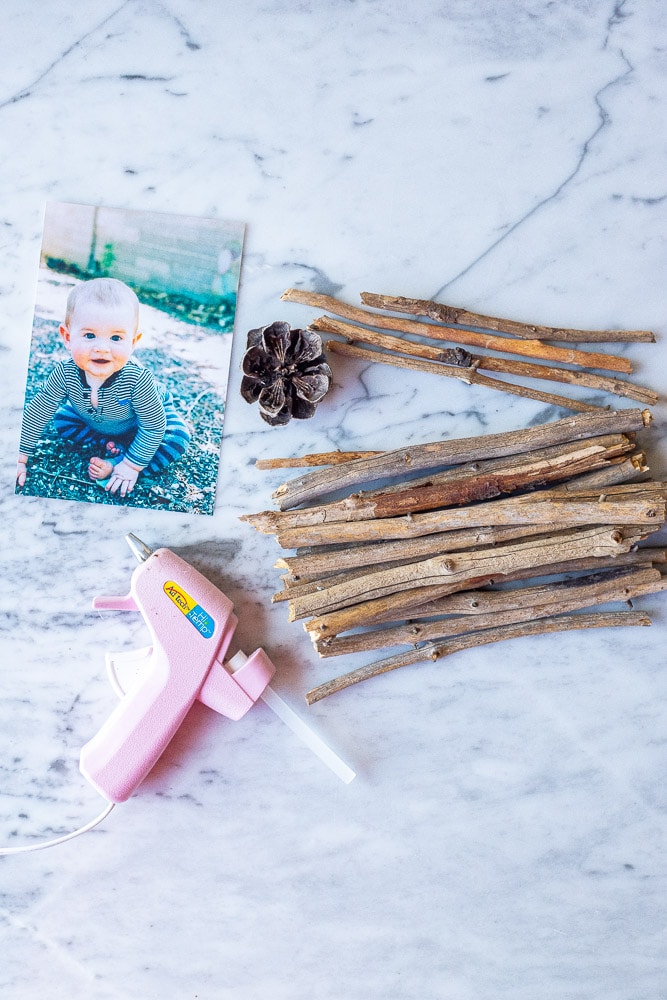
What You’ll Need To Make These Twig Picture Frames
- Twigs – You will need to find twigs, or sticks, that are roughly the same size around. You can easily cut them to make them the same length. I went into the forest near our house and was able to find so many sticks just lying on the ground. If you do go somewhere to gather them, make sure it’s on land that allows for you to take them with you.
- Hot Glue – I used hot glue to hold everything together. It’s great because it’s strong and dries very quickly.
- String – You will need a small piece of string, or twine, to attach to the back of the picture frame so you can hang it up. I was able to attach mine with hot glue since my frame wasn’t super heavy, but if yours is larger you might need something more heavy duty to hang it up with.
- A Photo – I made this for a Father’s Day gift for my husband, so I used a photo of our child, but you can make these twig picture frames for any occasion and use any kind of photo you like.
How To Make These Twig Picture Frames Your Own
I like to think that I’m just planting the seed for your own creativity with this fun nature project. Here are a few ways you can really get creative and make these your own:
- Use more than one photo – You can make this a multi-photo picture frame by using longer sticks and lining the photos up side by side. It would be fun to do two or three photos next to each other.
- Make a large frame and use an 8×10 photo. You can make these frames whatever size you like. I think it would look really neat to make them large and use an 8×10 photo in them.
- You can add other fun nature items to your picture frames. I found some really beautiful pinecones that looked like little flowers that I thought would be a fun addition. You can also add leaves, berries or pressed flowers.
- Instead of using smaller sticks to frame the actual photo, you could use other nature items to mix it up a little bit.
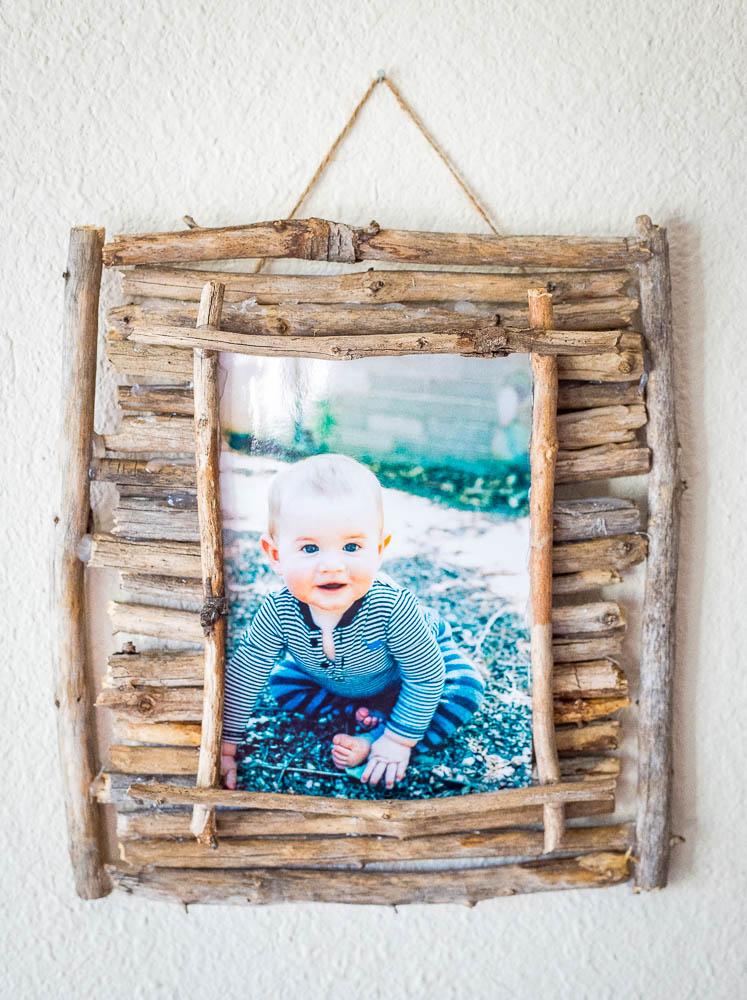
I just love how outdoorsy and rustic these Twig Picture Frames look. They’re the perfect gift for the nature loving dad in your life and will go well with lots of different decor styles. You can help your children make them for Father’s Day or they can just be a fun summer project to get your kids outside and exercise their creative side. You can even have them help take the photo for the picture frame!
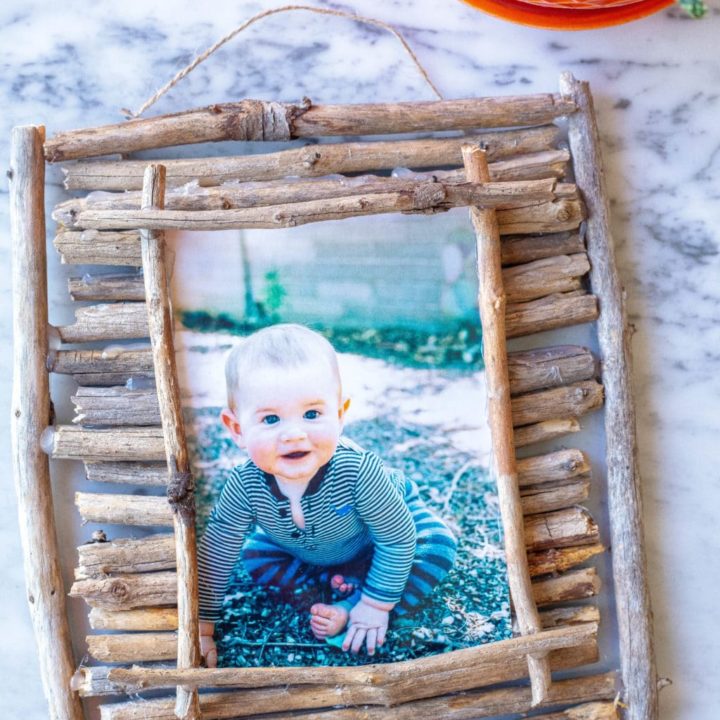
Twig Picture Frames
These Twig Picture Frames are rustic, outdoorsy and so thoughtful!
Materials
- Sticks - you want them to be the same length and the same approximate size. You can easily cut them to be the same length. I like to use smaller twigs to frame the actual photo.
- Hot glue gun
- Twine
- Photo
Instructions
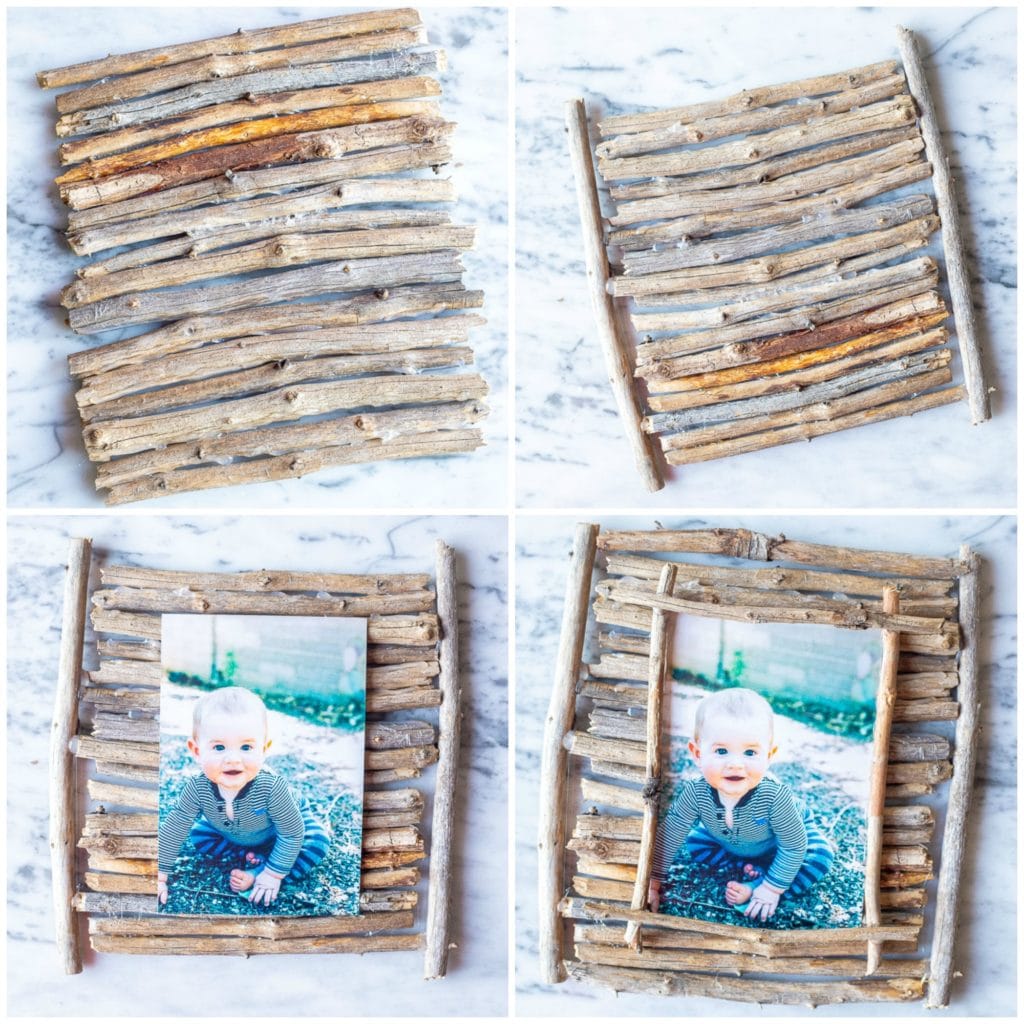
- You want your picture frame to be a little larger than your actual photo. Line up all your sticks to make sure they fit together well and that they're relatively the same size.
- Use a hot glue gun to glue the sticks together. I like to add two verticle sticks on the sides, just for looks. Apply a little dot of glue to each corner of your photo and align it in the center of your frame.
- Next, glue smaller sticks around the actual photo to frame it a little more.
- Cut a piece of twine and glue the ends to the back of the frame. You can make your string long or short, just depends on what you like. Let glue dry and hang up on the wall using a small nail.
Leave a Reply