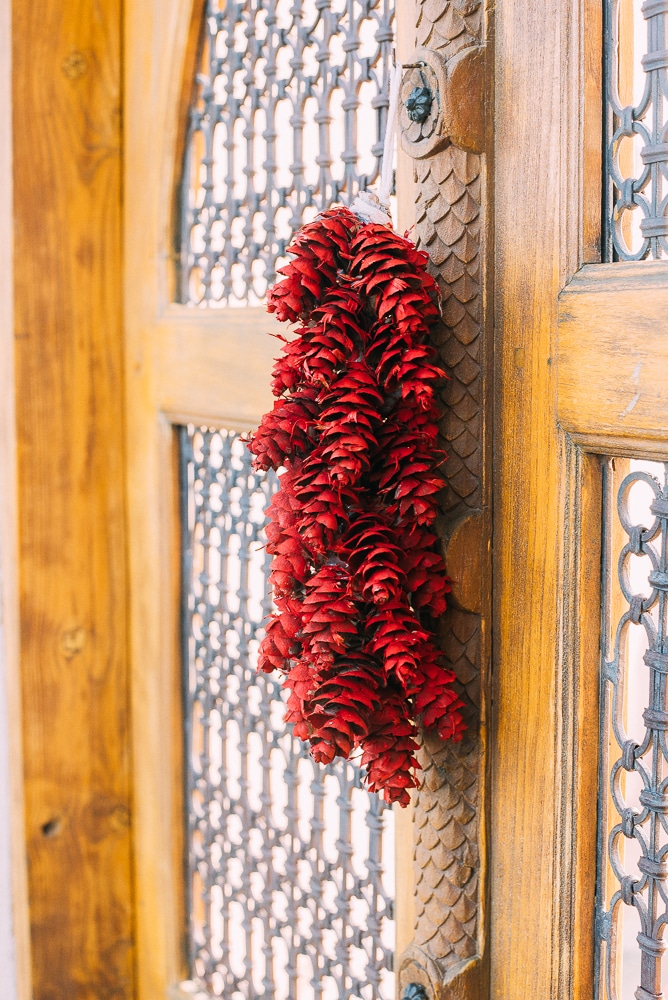
These Pinecone Ristras are fun to make and look great hanging up inside or outside! They give a nice southwestern vibe and they’re fun for the kiddos to make!
I have had the idea for these Pinecone Ristras for quite a while and was so excited to finally make them come to life! We live in New Mexico, so Ristras are a common sight around here and I always love seeing them. My kids had so much fun re-creating these traditional Ristras with pinecones and paint!
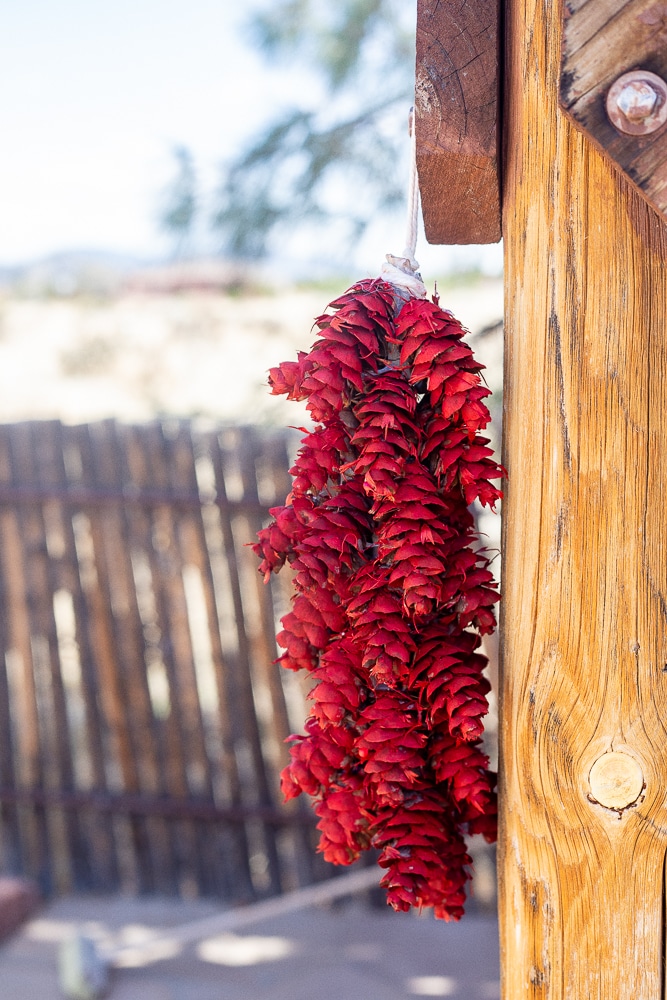
What Is A Ristra?
A Ristra is a string, or wreath, of Chile that is a colorful New Mexican Tradition. It’s an arraignment of dried Chile peppers that is usually used for decoration and can be used for consumption at a later time. They are usually seen hung around doorways, fences and patios all over New Mexico and southern Arizona. Ristras are said to bring good luck and good health.
If not being used for consumption, Ristras can last about 3 years but stay looking fresh longer if they are coated with a lacquer or sealant to keep them safe from the weather.
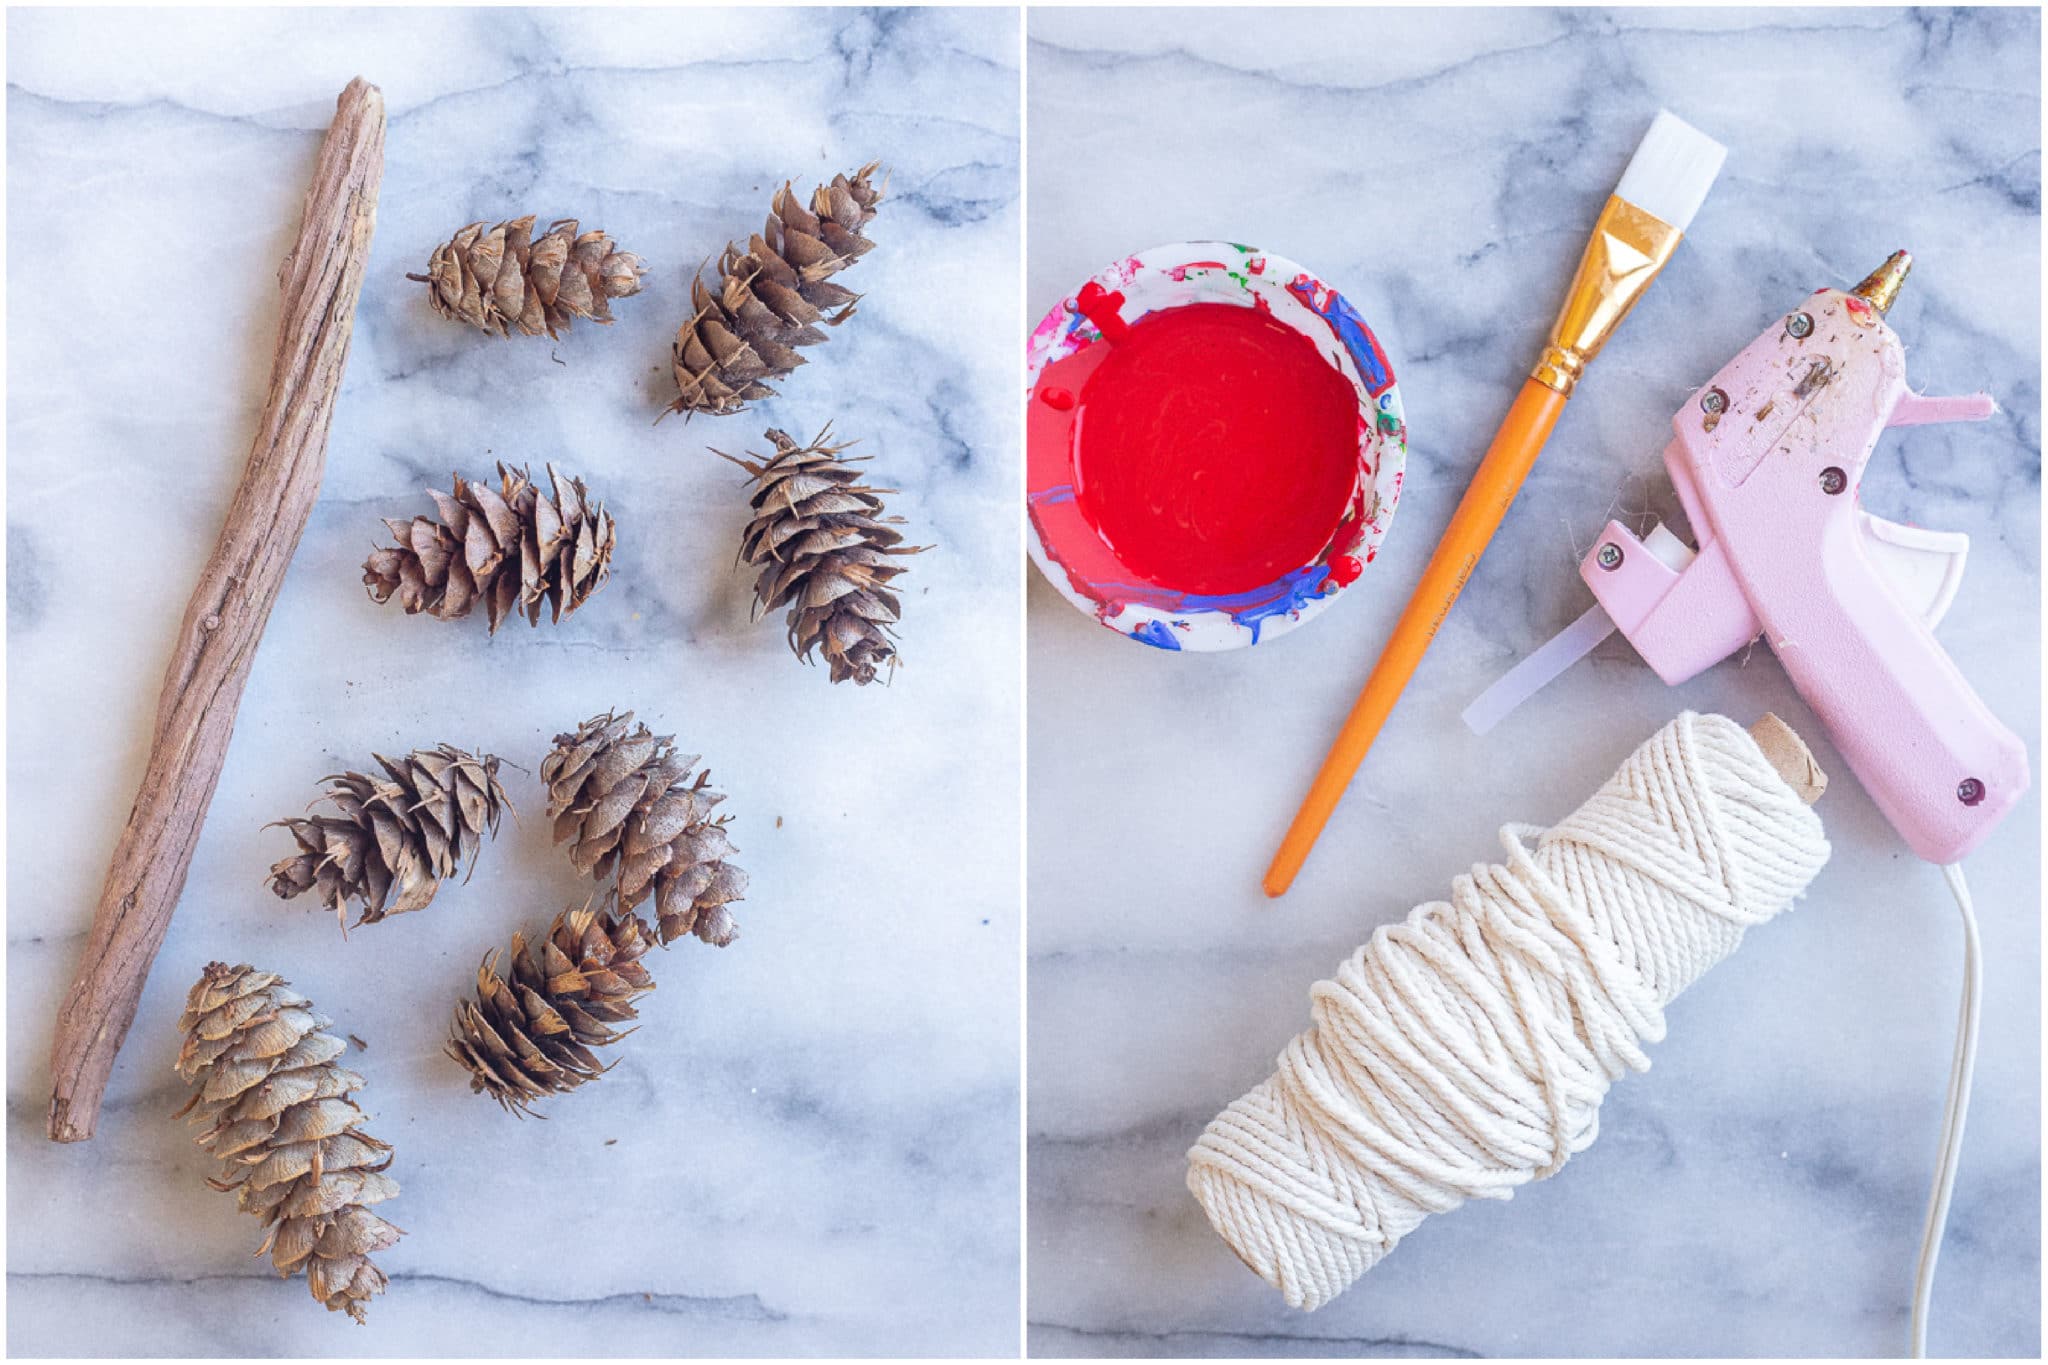
MATERIALS NEEDED TO MAKE A PINECONE RISTRA CRAFT
- Stick – I used a stick to attach the pinecones to. We just found a few sticks on the ground when we went out to look for our pinecones. You want to make sure the stick has enough girth to stick a few pinecones on. You can use any length of stick you like.
- String – I just used some basic yarn, or twine, that I had on hand. Ristras are traditionally topped with thinly cut corn husks so you could use those as well.
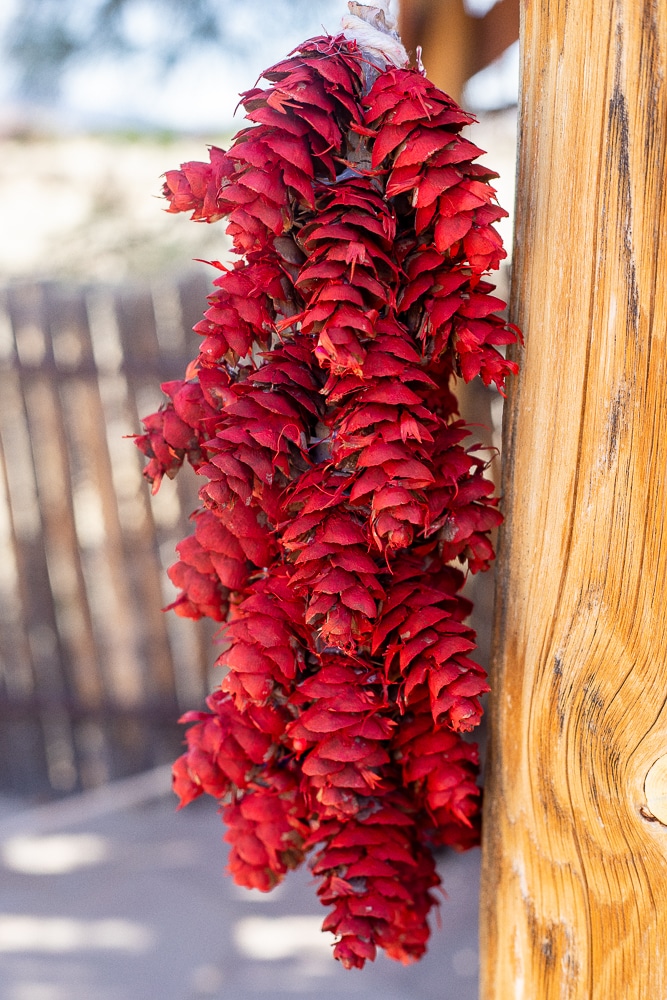
- Pinecones – I used Douglas fir pinecones for these Ristras. They have the perfect chile pepper shape, large at the top and thinner at the bottom. Ponderosa pine pinecones would also work great if you want to make a larger ristra. If you can’t find Douglas fir pinecones you can buy them online or just use regular pinecones and try to find smaller ones.
- Hot Glue – Hot glue works really well to stick the pinecones onto your stick. It dries quickly and attaches them well to the stick.
- Paint – Ristras traditionally use red Chile peppers, but sometimes they include green ones. I used a bright red paint but you can use any shade you like. You can also let your kids get creative and use any colors they like!
- Sealant – Sealant is totally optional, but can be helpful if you are going to hang your pinecone ristra outside. Polyurethene would work well.
HOW TO MAKE A PINECONE RISTRA
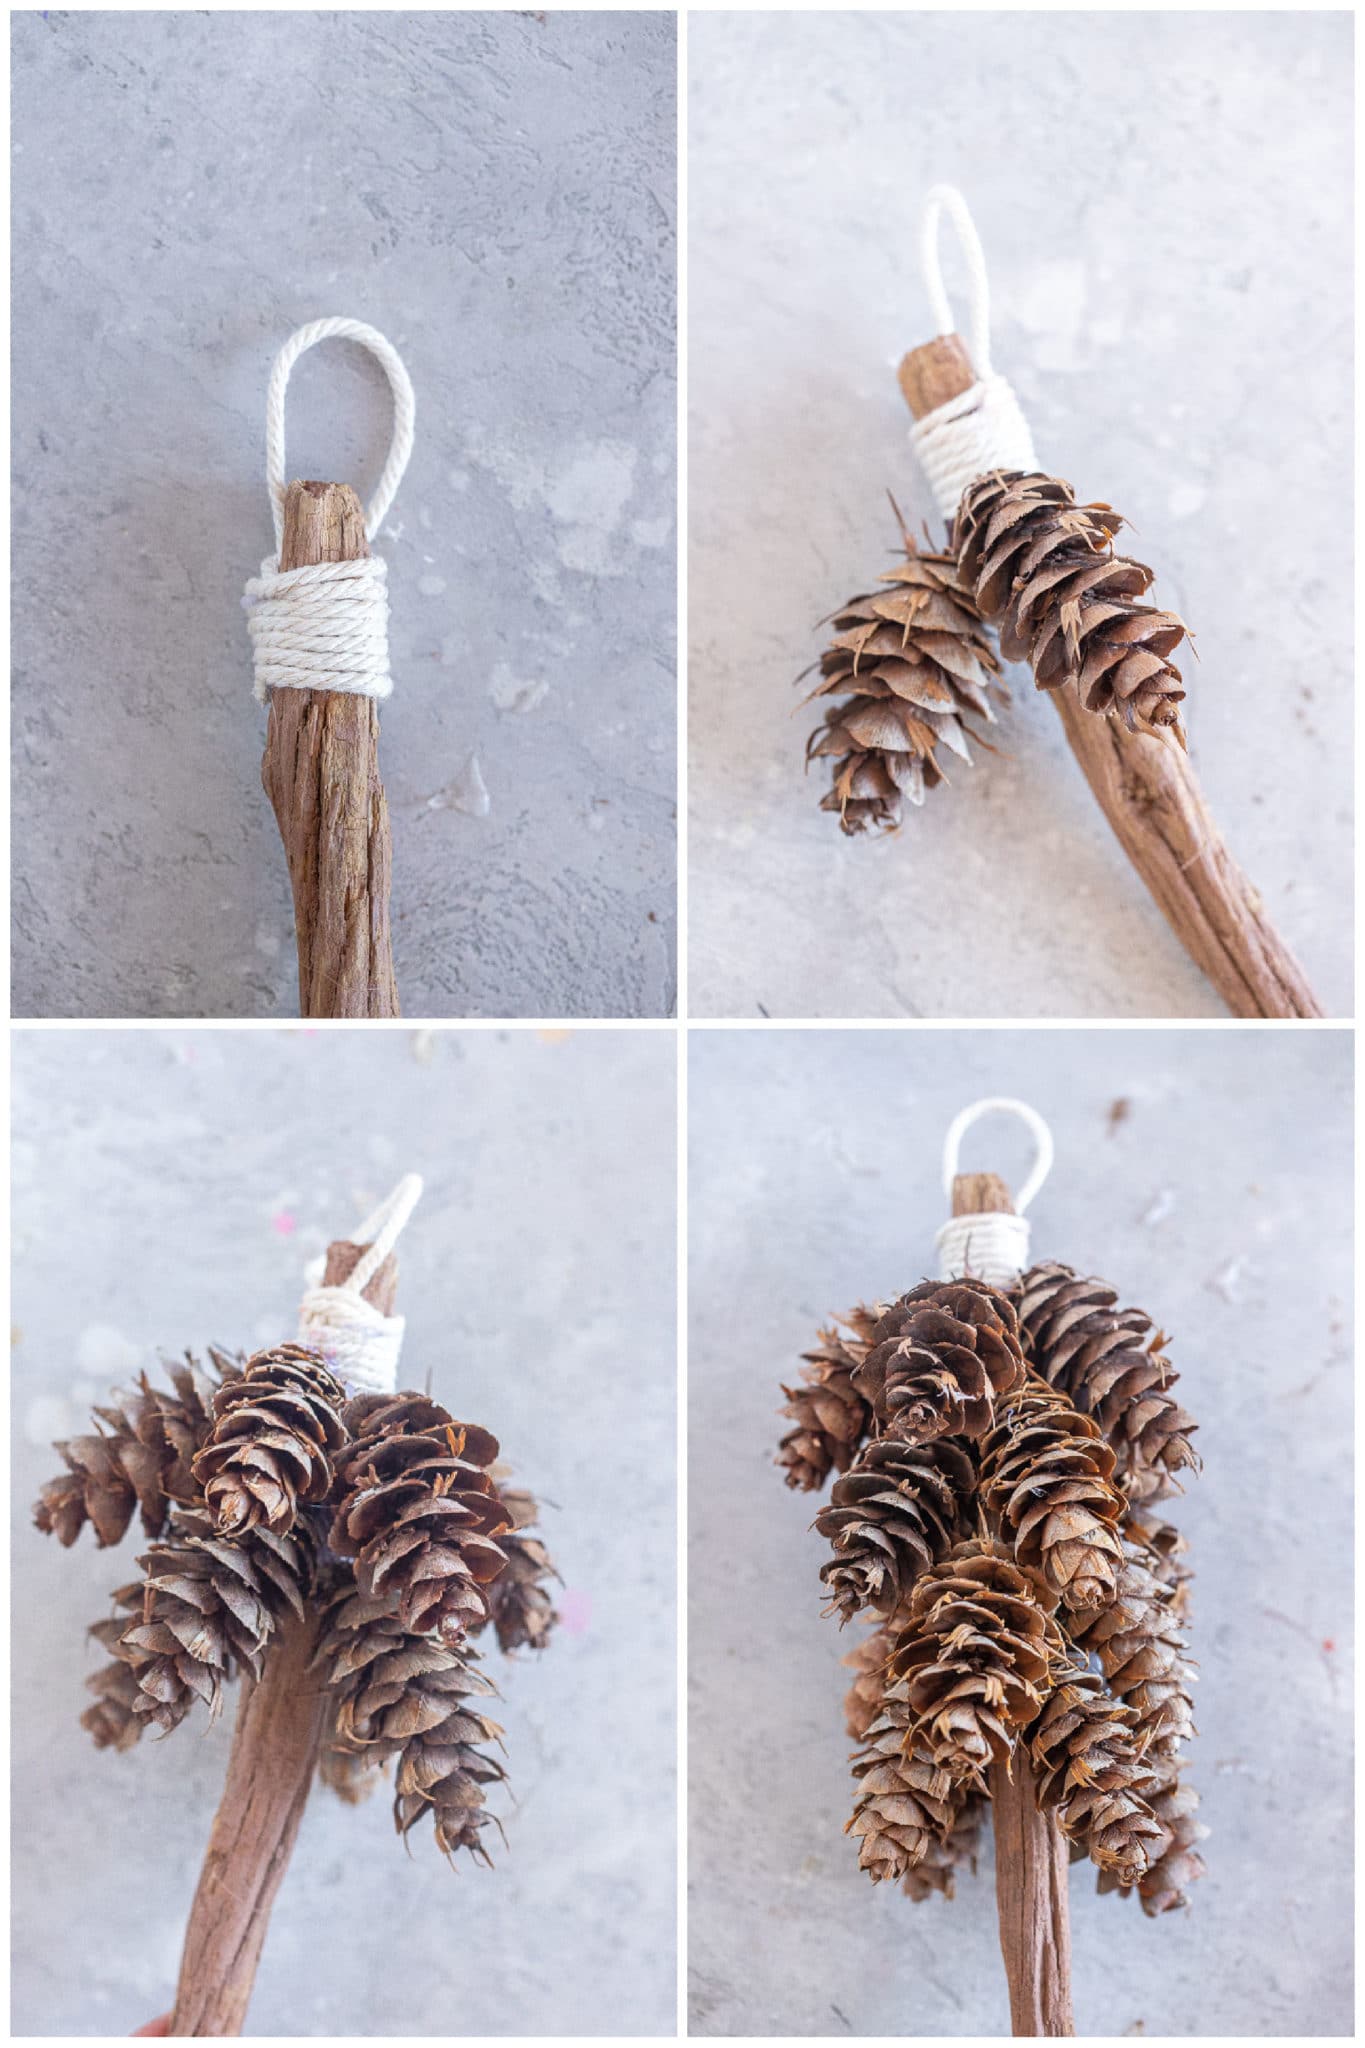
- Start by gluing your string loop to the top of the stick. I like to tie a knot in the string, leaving a good sized loop at the top. Glue the knot to the top of the stick and then wrap a piece of string around the stick, covering the knot from the loop, securing it with the hot glue.
- Next, either put a little bit of hot glue onto the stick and stick the pinecone on, or place the hot glue on the top of the pinecone and stick it directly to the stick.
- Repeat until the entire stick is covered with pinecones. Since the top of the pinecone is large than the bottom, you will want to stagger each layer of pinecones to make sure you fill them in all over the stick.
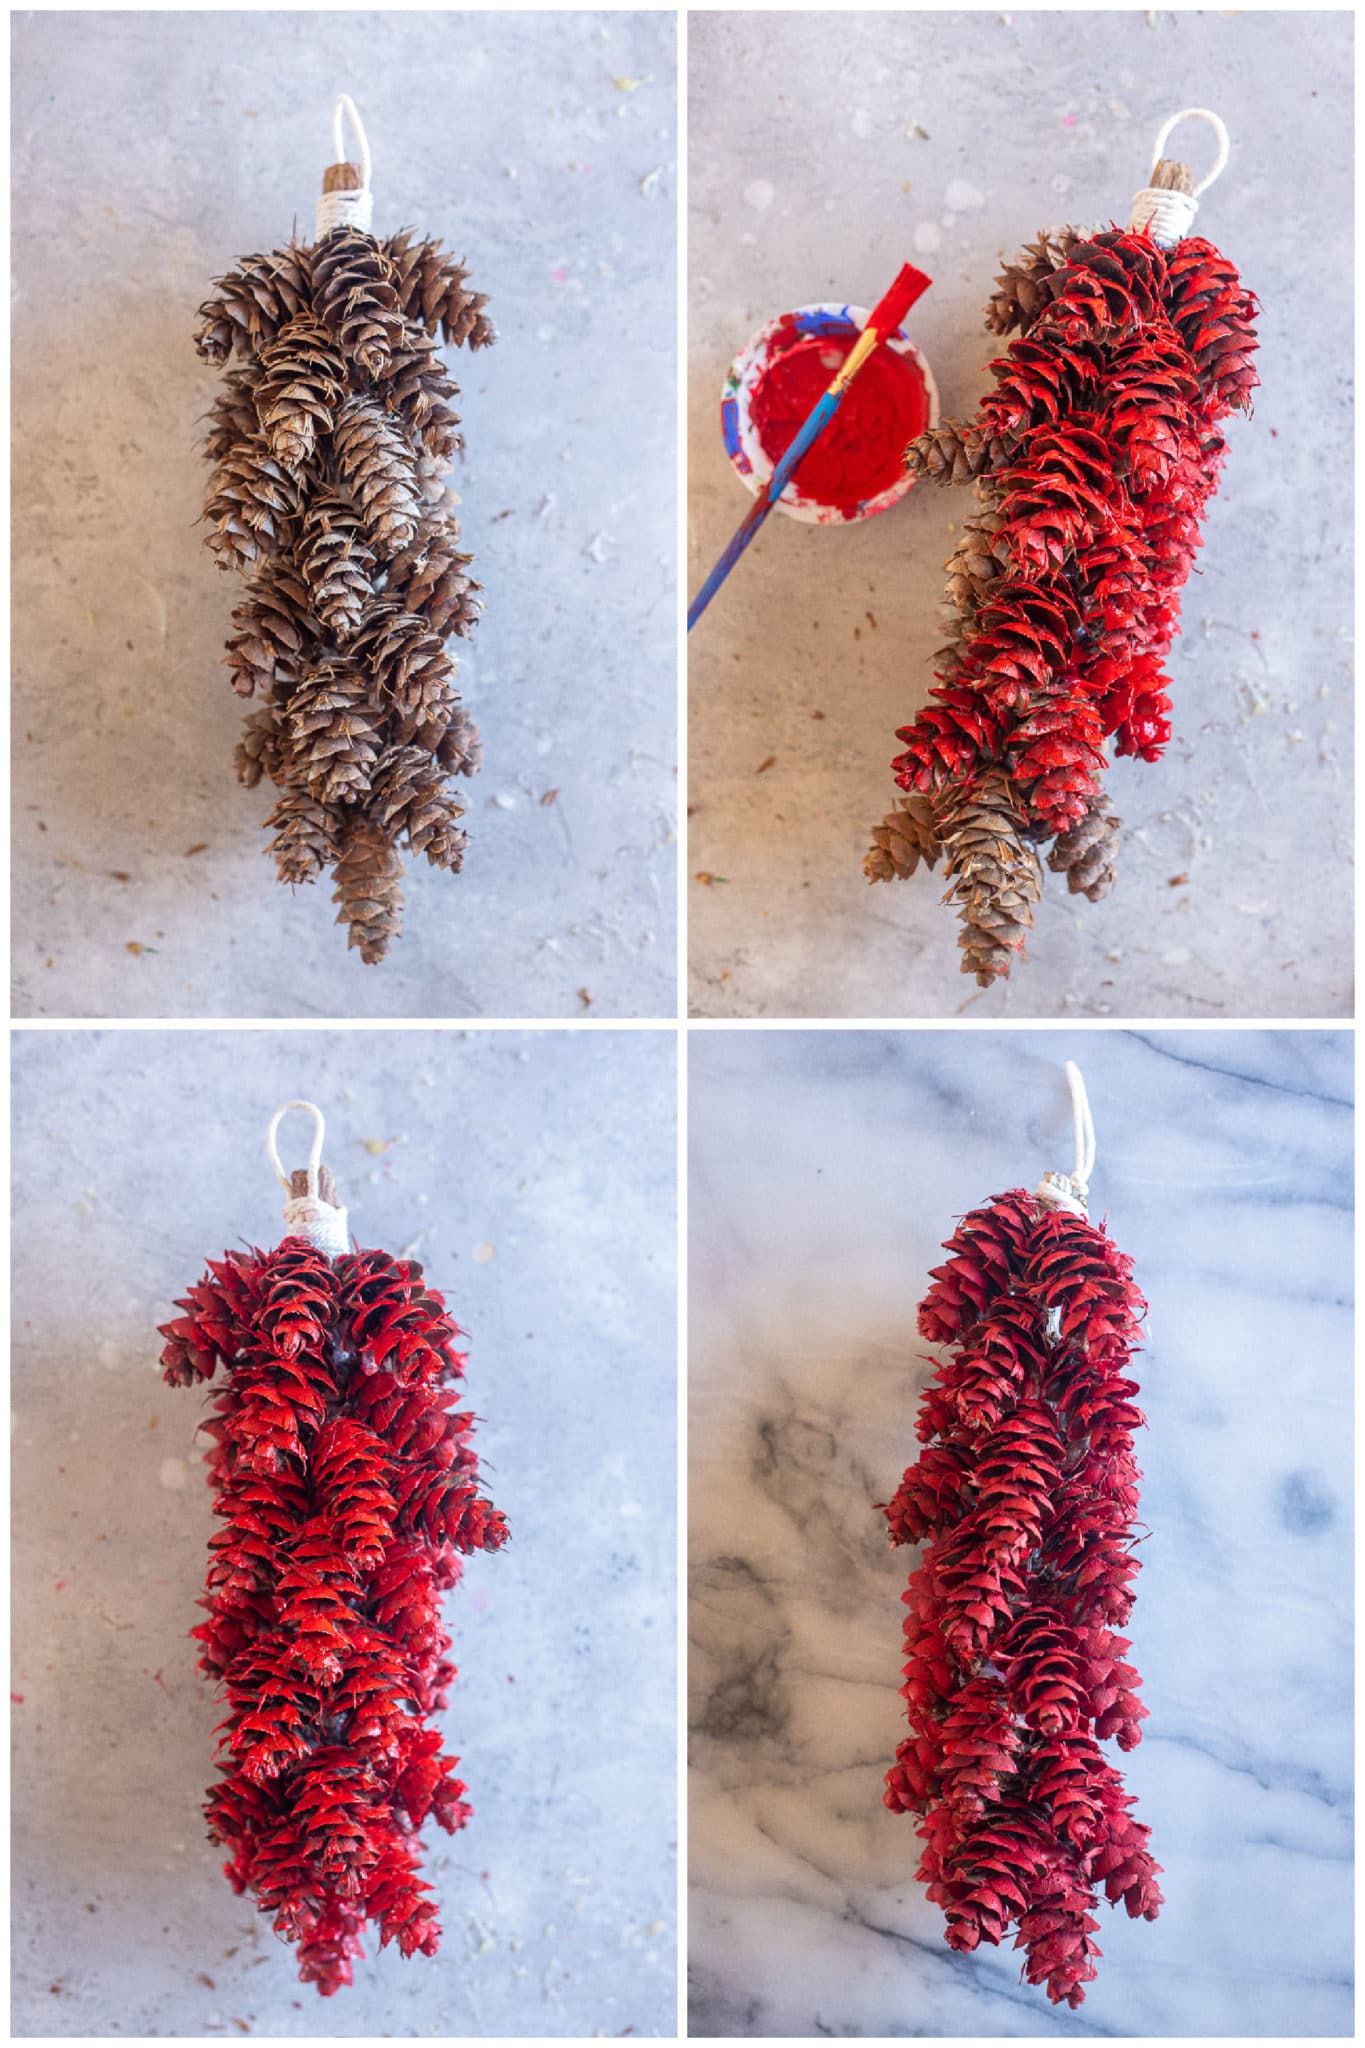
- Once all the pinecones are secured to the stick, it’s time to paint them red. Ristras are typically red, sometimes they have a few green chiles included. Paint all the pinecones red. You want to make sure you paint all of the top of the pinecones, but when the ristra is hanging up, the underneath side of the pinecones won’t be as visible so it’s ok if you don’t cover the underneath completely with paint.
- Allow all the pinecones to dry completely and then hang in your desired location. If hanging outside, it might be a good idea to coat with polyurethane to protect it from sun and rain, but it isn’t necessary.
PINECONE RISTRA CRAFT FREQUENTLY ASKED QUESTIONS
- Can I use regular glue instead of hot glue? I totally understand that hot glue isn’t always kid friendly, I even burn my fingers on it sometimes, but hot glue does work the best for these pinecone Ristras because it dries very quickly and is pretty strong when it dries. If you don’t want to use hot glue, you can use rubber cement or Elmers glue but you will have to hold the pinecone in place for much longer.
- How can I use hot glue safely with my child? When I made these Ristras, I was in charge of the hot glue gun and I applied the hot glue to the top of the pinecone and then let my child carefully place it onto the stick.
- I can’t find Douglass Fir pinecones, what can I use instead? You should be able to use most pinecones. Ponderosa pine cones would work well to make a large one but regular pine tree pinecones should work as well, they just won’t have that pointed pepper look quite as much. You can also buy Douglas fir pinecones on Etsy if you want!
- Will they fade if you put them outside in the sun? Yes, they probably will. You could try finishing it with polyurethane if you want it to look fresh for longer. You could also hang it inside or in the shade if hanging outside so the sun won’t fade it as much.
Have a question we didn’t answer? Ask in the comment section below and we will get back to you ASAP!
WHY KIDS WILL LOVE MAKING THESE BEAUTIFUL PINECONE RISTRAS
- They get to scavenge for pinecones! My kids love going on nature treasure hunts and they had so much fun helping collect all the pinecones needed to make these Ristras.
- It’s a craft that they can hang up and admire everyday. My older son was so excited to hang this up in his room and talks about it everyday 🙂
- It’s a great reason to teach your kids about the New Mexico culture. Whether they’re familiar with New Mexico or not, it’s always great to learn about different cultures and the meaning behind the ristra.
LOOKING FOR MORE PINECONE CRAFT IDEAS?
Pinecone Ristras Craft
These Pinecone Ristras are inspired by the traditonal red chile ristras you can see in New Mexico!
Materials
- Stick (any size you like)
- Douglas fir pinecones (amount will vary depending on how long your stick is)
- String or twine
- Dried corn husks, optional for topping
- Red paint
Tools
- Hot glue gun
- scissors
Instructions
- Start by gluing your string loop to the top of the stick. I like to tie a knot in the string, leaving a good sized loop at the top. Glue the knot to the top of the stick and then wrap a piece of string around the stick, covering the knot from the loop, securing it with the hot glue.
- Next, either put a little bit of hot glue onto the stick and stick the pinecone on, or place the hot glue on the top of the pinecone and stick it directly to the stick.
Repeat until the entire stick is covered with pinecones. Since the top of the pinecone is large than the bottom, you will want to stagger each layer of pinecones to make sure you fill them in all over the stick. - Once all the pinecones are secured to the stick, it's time to paint them red. Ristras are typically red, sometimes they have a few green chiles included. Paint all the pinecones red. You want to make sure you paint all of the top of the pinecones, but when the ristra is hanging up, the underneath side of the pinecones won't be as visible so it's ok if you don't cover the underneath completely with paint.
- Allow all the pinecones to dry completely and then hang in your desired location. If hanging outside, it might be a good idea to coat with polyurethane to protect it from sun and rain, but it isn't necessary.