These Clay Flower Cookies are a perfect treat in any child’s outdoor mud kitchen. They are fun to make and fun to decorate! And they make a really sweet Mother’s Day gift too!
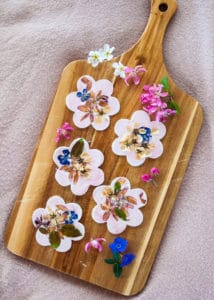
My kids have so much fun “baking” me goodies that they prepare in their mud kitchen. Their favorites include fairy soup, “chocolate” mud muffins, and these pretty clay flower “cookies.” I love watching them at work and seeing their delight when they show me their creations.
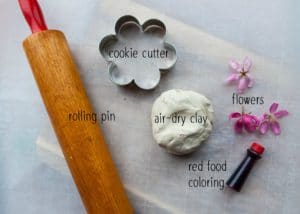
What you’ll need to make Clay Flower Cookies
- Clay – We used Crayola Air Dry Clay for our flower clay cookies, because it’s easy for little hands to use and it dries and hardens overnight without baking in an oven. However, play dough, salt dough, or even mud would work just fine!
- Rolling pin – You’ll need a rolling pin to roll out your clay. If you don’t have a rolling pin in your child’s play kitchen, pressing the clay flat with your hands or using a plastic cup would work as well.
- Cookie cutters – We chose a flower shape for our clay cookies to celebrate the arrival of spring, but any shape will do!
- Fresh flowers – Blossoms, petals, and leaves will be needed to decorate your “cookies” once they are cut out.
- Food coloring – This is totally optional. We used a few drops of red food coloring to put get pretty pink swirl through our white clay.
How to Make Clay Flower Cookies
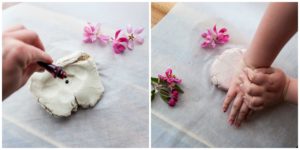
- Step 1. Prepare your clay. We had some air dry clay left over from the Pressed Flower Ornaments and the Lace Star Ornaments that we made last year. We used a medium sized ball (like the size of a tennis ball) of air dry clay, added a few drops of red food coloring, and worked it in our hands to soften it up a bit and mix in the coloring. However, you could use any kind of modeling clay you like or just use play dough or make salt dough to use.
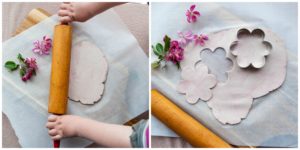
- Step 2. Roll out your clay. Once your clay or dough is softened, grab a rolling pin and begin rolling the clay out flat. Roll it out to about a 1/4 in (6mm) thick.
- Step 3. Cut out your shapes. Now, pick out a cookie cutter and cut out your “cookies” from the clay. Carefully pick them up and place them on a baking sheet or some kind of large flat tray where they can dry and be displayed.
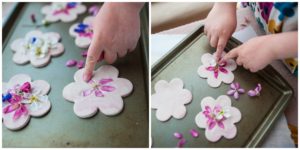
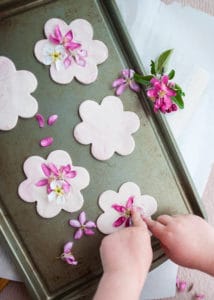
- Step 4. Decorate your cookies. After all your “cookies” have been cut out and are laying flat on a tray, go find things in nature to decorate them with. We used blossoms from our pear and crabapple trees, but any small flowers or petals or leaves would work great! The more creative the better. Once you gather items, arrange them on the clay cookie and press them into the clay until they stay.
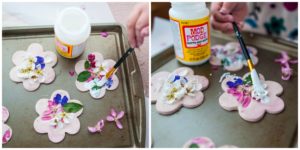
- Step 5. Seal with Mod-Podge. This is totally optional, but you could paint your decorated cookies with Mod-Podge to seal your fresh flowers and help them last longer.
What we love about Clay Flower Cookies
- Fun way to celebrate. These clay flower cookies make a really sweet Mother’s Day gift that your children can easily make for you or their grandmother. They’re also a fun flower activity to do on the May Day (the first day of May)!
- Outdoor activity. Anything that gets my kids outside playing in nature is a win, in my opinion. My kids spent hours outside in the yard making and decorating these clay cookies. They continue playing with them even after they’ve been dry for days.
- Uses fine motor skills. Activities like this help your kids practice their fine motor skills, which is an important development for all children, because it leads to greater independence and self-sufficiency.
- Imaginative play. This activity gives your child a chance to pretend they are cooking or baking. Imaginative play enhances a child’s creativity and the process of pretending builds skills in many essential developmental areas.
- Simple and inexpensive. This requires just a few materials and can be done anytime, anywhere!
How to Make Clay Flower Cookies
These Clay Flower Cookies are a perfect treat in any child's outdoor mud kitchen. They are fun to make and fun to decorate! And they make a really sweet Mother's Day gift too!
Materials
- Clay
- Flowers
- Food coloring*
- Mod-Podge*
Tools
- Rolling pin
- Cookie Cutter
Instructions
Step 1. Use a medium sized ball of air dry clay (like the size of a tennis ball) of air dry clay. *Add a few drops of red food coloring, and work it in our hands to soften it up a bit and mix in the coloring.
Step 2. Once the clay or dough is softened, grab a rolling pin and roll it out to about a 1/4 in (6mm) thick.
Step 3. With a cookie cutter, cut out shapes from the clay. Carefully pick them up and place them on a baking sheet or some kind of large flat tray where they can dry and be displayed.
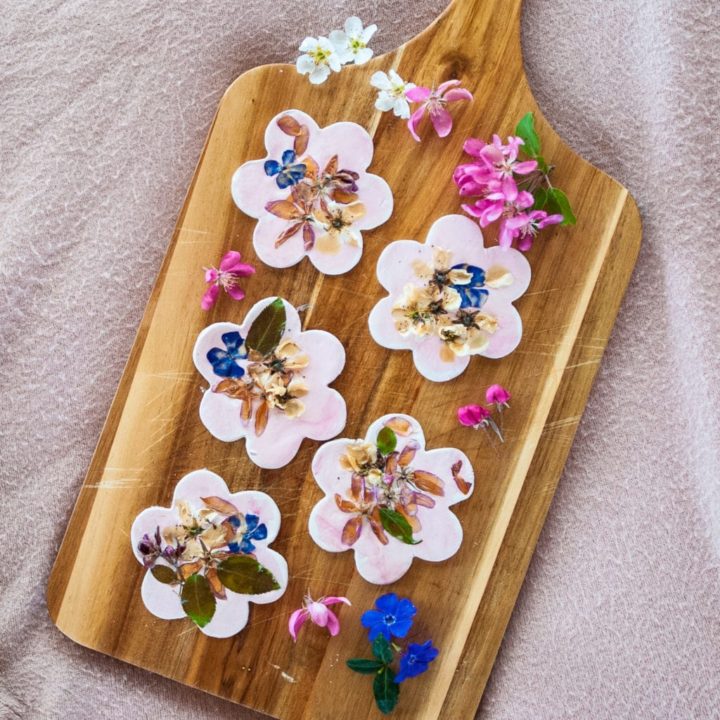
Step 4. After all the shapes have been cut out and are laying flat on a tray, find materials to decorate with. Small flowers, blossoms, flower petals, or small leaves work great! Arrange materials on the clay shapes and press them into the clay until they stay.
*Step 5. Paint the decorated clay shapes with Mod-Podge to seal the fresh flowers and help them last longer.
Notes
*The materials and steps identified with an asterisk are entirely optional.
Leave a Reply