Make your very own Christmas ornaments this year using salt dough! Salt dough ornaments are so easy to make and your kids will absolutely love this fun and creative holiday craft!

Have you ever made salt dough before? It’s a super easy 3 ingredient dough that can be rolled out and turned into beautiful, homemade Christmas ornaments! Your kids will have so much making their very own salt dough ornaments and they can be treasured year after year.
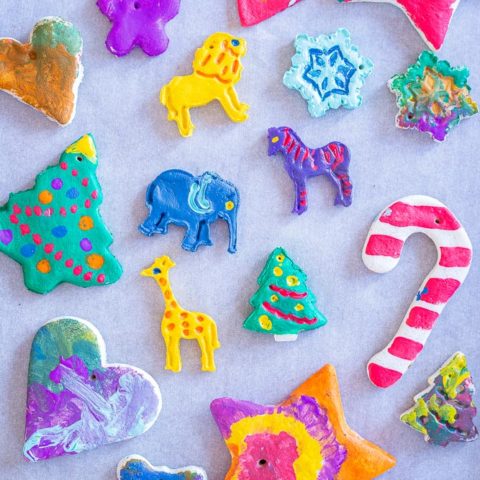
My four year old had so much fun making these Christmas ornaments! I let him cut out his own shapes and then we painted them together. Once they were dry he was so excited to hang them on the tree. These ornaments are great for children of all ages.
what is salt dough?
Salt dough is a simple dough made from flour, salt and water. It is hardened by baking in the oven, or microwaving, and then can be used for handprints/footprints, Christmas ornaments and even sculptures. It can be sealed using varnish or polyurethane, painted with acrylic paint or hand dyed using food coloring. It’s a thick, dense dough that if made properly shouldn’t crack or crumble, making it perfect to use for Christmas ornaments.
what you’ll need to make these salt dough ornaments
- Salt dough – for the salt dough you will need flour, salt and water. All you do is mix those ingredients together and your dough is ready to go!
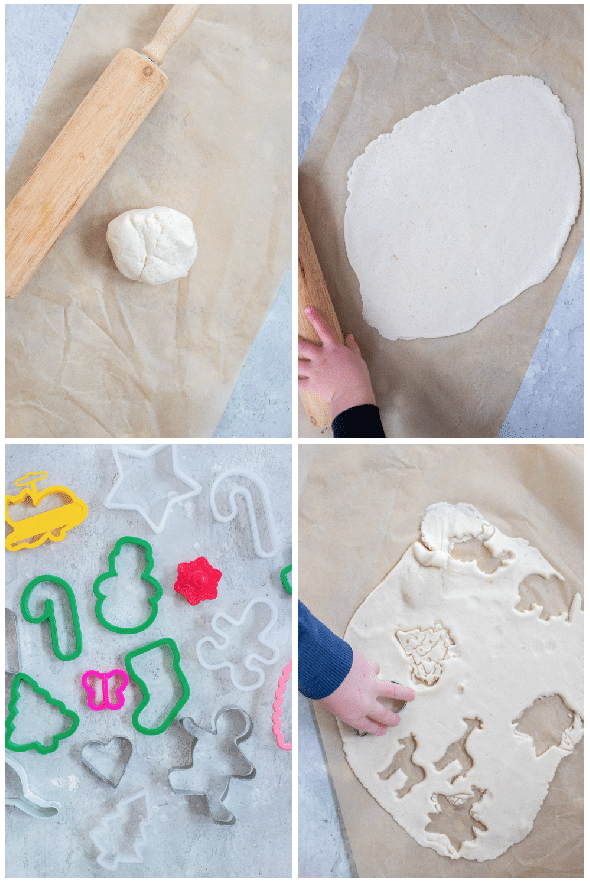
- Rolling pin – You will need a rolling pin to roll out the dough to your desired thickness.
- Cookie cutters – We used a mixture of Christmas cookie cutters and our animal cracker cookie cutters. Really, any cookie cutters you have will make great ornaments, they don’t need to be Christmas themed.
- Paint – We used acrylic paint for our ornaments. I love acrylic because it is bright and colorful and lasts a long time. A water based Crayola paint would probably work as well but the colors won’t be as bright and it might not last as long.
- Ornament hooks – You will need an ornament hook for each one so you can hang them on your tree.
- Parchment paper – I like to use parchment paper to roll out the dough on and to bake the ornaments on. It’s just an easy way of making sure that things don’t stick to your surface.

how to make your christmas ornaments
- You start by making your salt dough. Mix together the salt and flour and then slowly add in the cold water and mix until you have a dough. Form dough into a ball and let sit for 10 minutes.
- Place a piece of parchment paper on a flat surface and roll out your salt dough to desired thickness. 1/4 inch is great but you can make them a little thinner or thicker if you like. The thickness will affect the baking time so just make sure to check on them a few times if some ornaments are thinner or thicker than others.
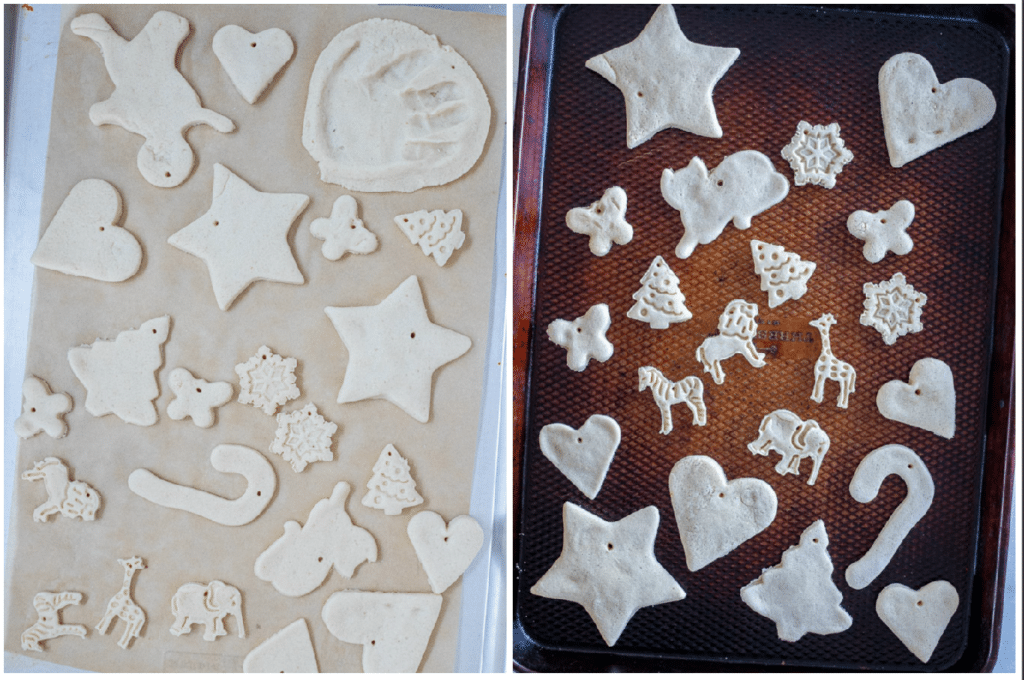
- Use your cookie cutters to cut out your ornament shapes and place them on a baking sheet lined with parchment paper. The number of ornaments you get will depend on the size of the cookie cutters. we got about 20 ornaments and made a mixture of small and large ones. Poke small holes in the very top of the ornament so you can place a hook in each one.
- Bake the dough at 250 degrees F or about 2 hours. You want to bake them until they’re hardened. They will harden a little more once you remove them from the oven and let them cool but you want them to have a good hard texture before you remove them from the oven. The bottoms will be slightly browned but the tops should still be dough colored.
- Once the ornaments have cooled you can start to paint them! It’s fun to let your kids paint them however they like! I did a few of them as well.
- Once the paint has dried you can add your ornament hooks and hang on the tree!

frequently asked questions
- Can you eat salt dough? Plain, unpainted salt dough is technically edible but tastes very strongly of salt so I would not recommend eating it!
- How should you store your salt dough ornaments? I would suggest storing them the same way you would store a fragile ornament. Wrap in plastic wrap and carefully pack away.
- How long do salt dough ornaments last? If you take good care of them and store them properly they can last a very long time! I recently saw a post from someone saying that they had some in good shape that were 35 years old.
- How do you know when salt dough is done? It will be hard to the touch but still light in color on the top. You want to make sure to cook them low and slow to prevent the outside from browning while the inside is still raw.
Still have questions? Ask us in the comments below!
How To Make Salt Dough Ornaments
Create and decorate your own christmas ornaments using salt dough! Kids will absolutely love this holiday activity!
Materials
- 2 cups flour
- 1 cup salt
- 1 cup cold water
- cookie cutters
- paint
- Christmas ornament hooks
Tools
- parchment paper
- rolling pin
- paint brushes
Instructions
- Make the salt dough: In a large bowl mix together the flour and salt. Add the cold water in a tablespoon at a time, mixing between each addition, until a dough has formed. Knead dough for about 10 minutes and then form dough into a ball and let sit for 10 minutes.
- Roll out dough on a sheet of parchment paper. You can make it as thick or as thin as you like. The thickness will determine the baking time. We made ours about 1/4 inch thick.
- Pre-heat oven to 250 degrees F. Use cookie cutters to cut out shapes in the dough and place them on a baking sheet lined with parchment paper. Poke small holes in the top of each one so that you can stick an ornament hook through. Place them in the pre-heated oven and bake until ornaments have hardened, about 2 hours depending on how thick your dough is. Baking time will vary depending on thickness of dough.
- Let ornaments cool completely and then paint them. Once paint has dried you can stick an ornament hook in and hang them up on your tree!
Leave a Reply