These Fall Leaf Jack-O-Lanterns are a fun, nature based alternative to carving pumpkins! Kids will enjoy gathering the fall leaves as well as creating these beautiful jack-o-lanterns!
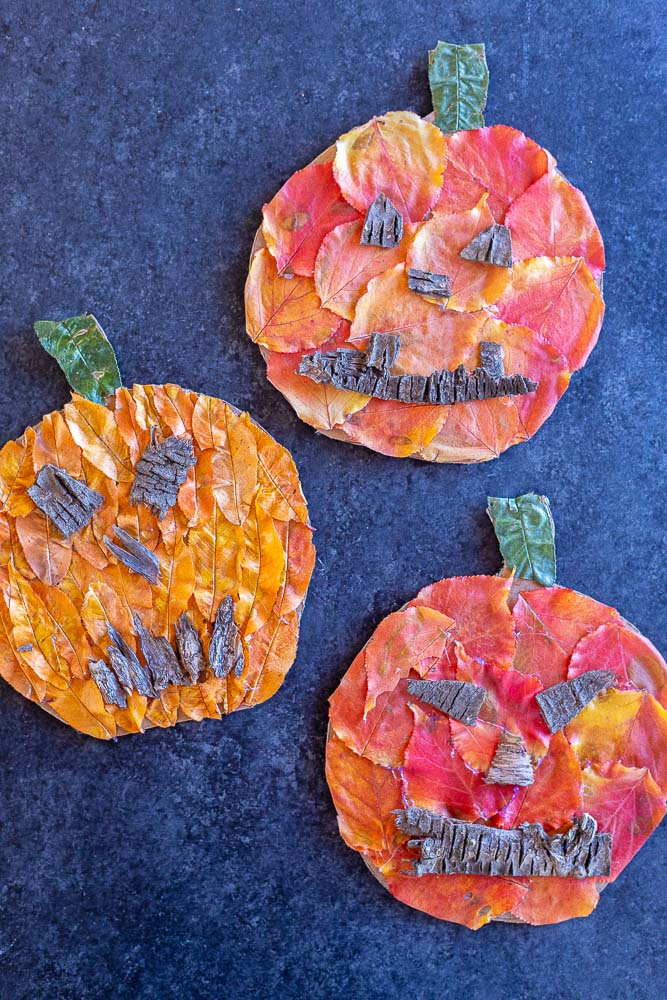
You know it’s officially fall when the leaves start to change colors. They go from green to beautiful, vibrant yellows, oranges and reds. Halloween also happens to be just a few weeks away so we thought these Fall Leaf Jack-O-Lanterns would be the perfect nature based Halloween activity!
Whether you don’t have access to pumpkins for carving this year, or you’re looking for an alternative Halloween activity for your kids, these Fall Leaf Jack-O-Lanterns will be perfect! Kids can get creative with arranging their leaves and creating their faces.
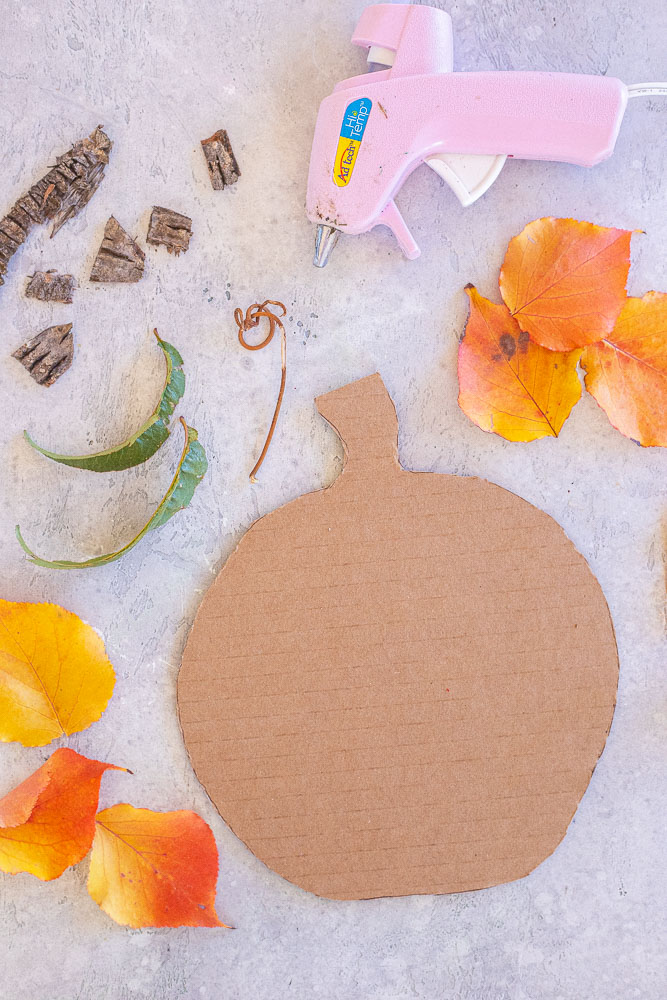
what you’ll need to make these fall leaf jack-o-lanterns
- Cardboard – Any leftover cardboard will do. It’s best to use cardboard that isn’t too thick so it’s easier to cut. You could even use a thick card stock paper instead.
- Fall leaves – If you can find orange ones that is best, but any color will work! I also used a green leaf for the stem.
- Bark or other nature items – Your kids can get creative and make the face out of any nature items they like. I used bark because we have a lot of it and it was easy to glue on the jack-o-lantern faces.
- Hot glue – I love using hot glue for most crafts because it dries super quickly and holds the items on well. You could also use Elmers glue, you would just need to let it dry a bit longer. Mod Podge would also work well and help preserve them.
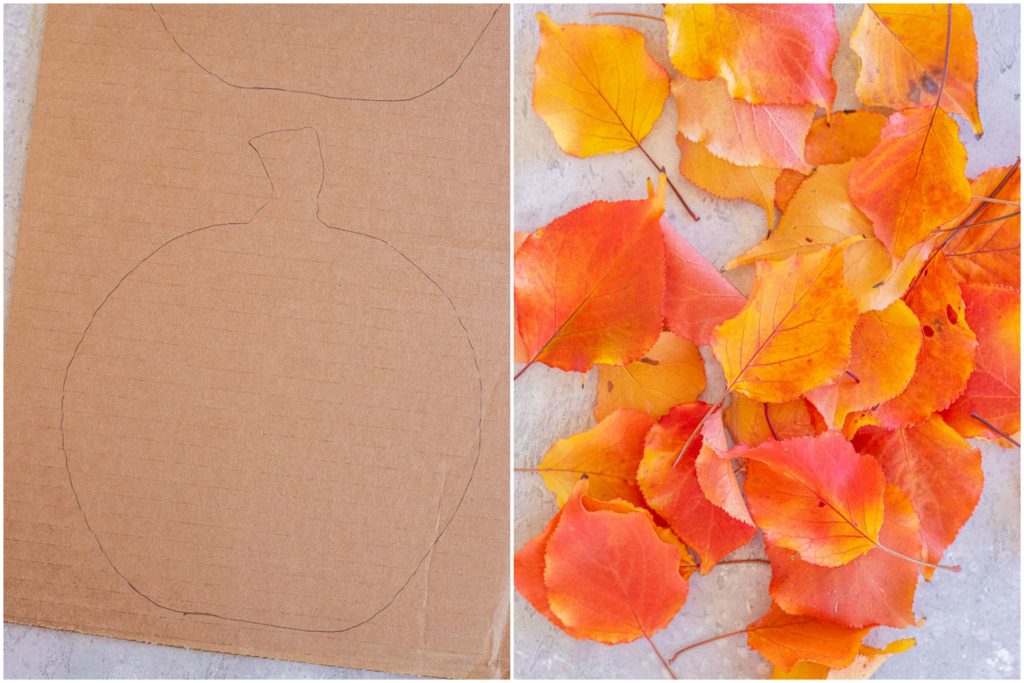
how to make a nature jack-o-lantern
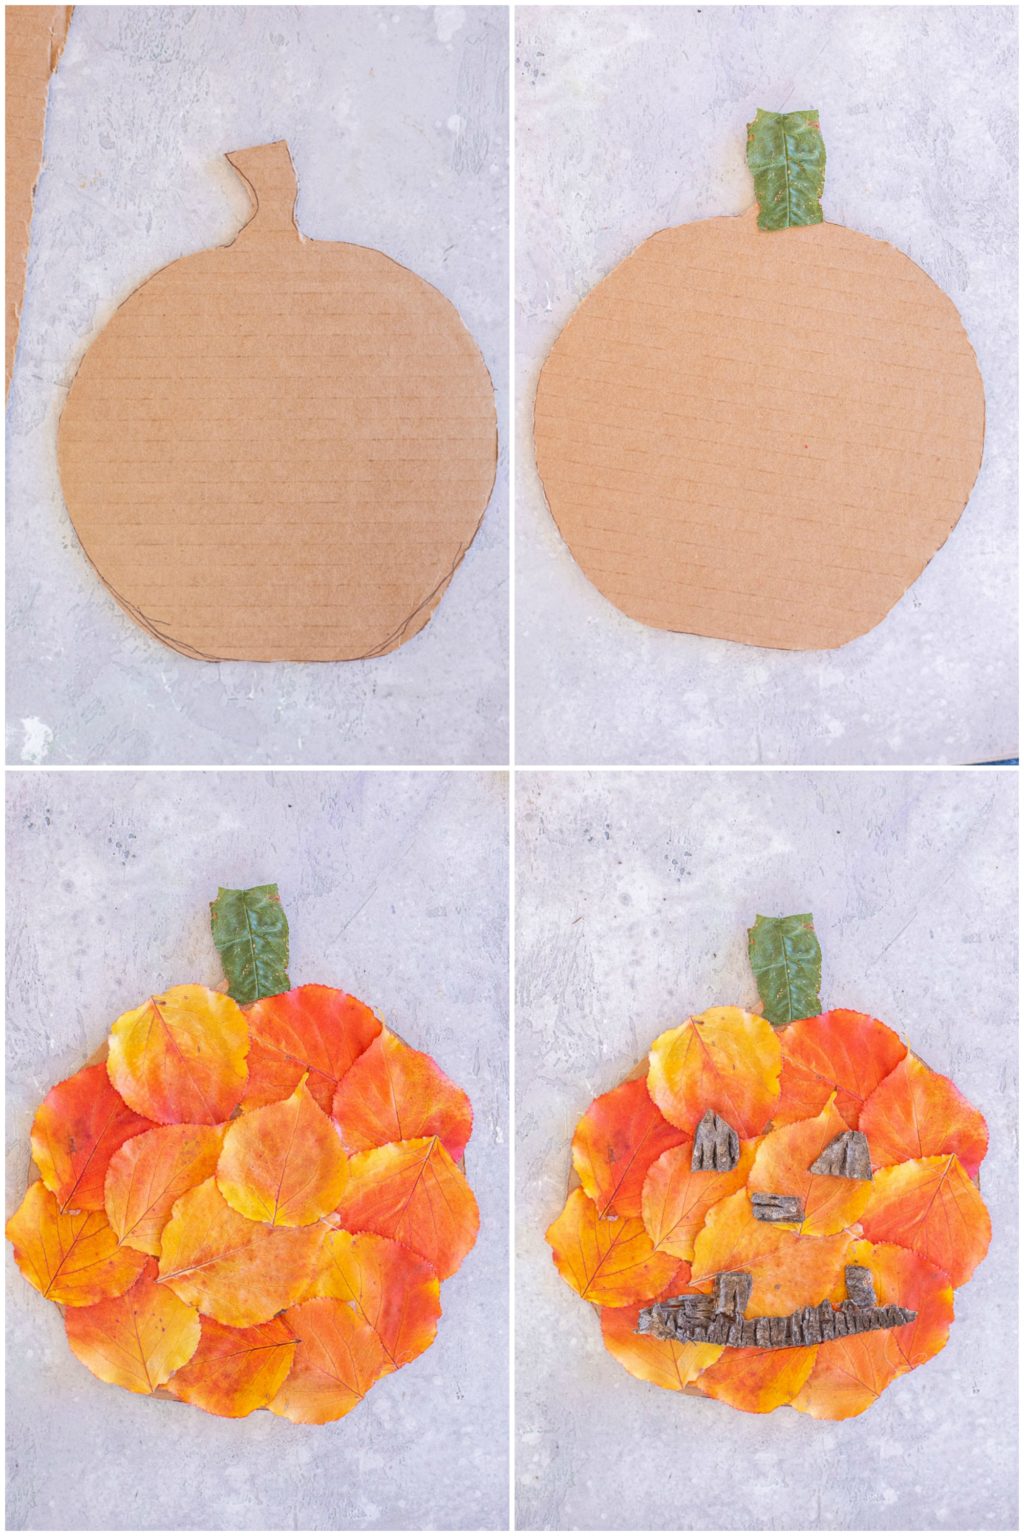
Your kids can these fun jack-o-lanterns however they like, but I just wanted to share exactly how I made these ones:
- I started by tracing and cutting out your pumpkin shape. I just went online and looked at pictures of pumpkin outlines and drew one as best as I could. Here is the pumpkin outline that I used. You can make your pumpkins as small or large as you like. You will want to use a good sharp pair of scissors to cut the cardboard.
- I first glued the green stem on and then stared assembling and gluing the fall colored leaves on. If the leaves hang off the cardboard at all you can just trim them with scissors.
- Lastly, I made the jack-o-lantern faces. I just found some small bark pieces and I arranged into eyes, noses and mouths. I cut a few of them to be triangle shapes.
how to preserve your fall leave jack-o-lanterns
If you want to preserve your pumpkins you can do a few things: either press the leaves before using them so they will maintain their color, or you can paint a layer of mod podge over the top to help seal everything in. If using mod podge you should paint over the leaves before adding the facial features.
We like to display our jack-o-lanterns in the window but you can put these anywhere you like. My kids also like to just play with them 🙂
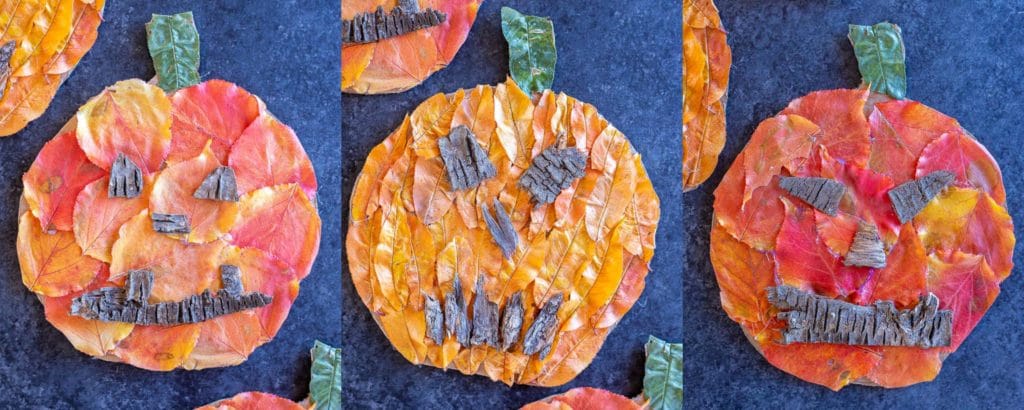
Check out other kid’s nature based fall activities below!
check out exactly how we make these fun jack-o-lanterns!
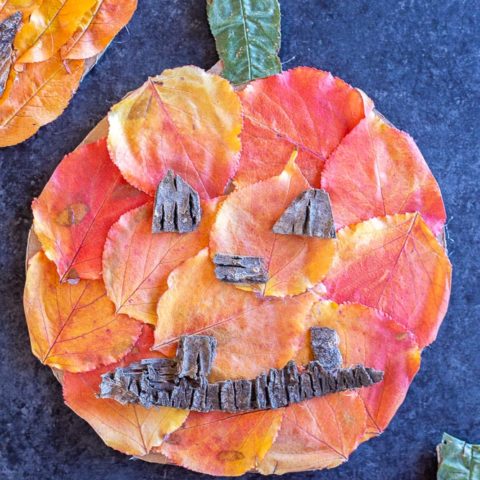
Fall Leaf Jack-O-Lanterns
These Fall Leaf Jack-O-Lanterns are a fun fall activity and a great alternative to carving pumpkins!
Materials
- Cardboard
- Fall leaves
- Other nature items such as bark or rocks, to make the face with
Tools
- Scissors
- Hot glue gun
Instructions
- Freehand draw or trace a pumpkin shape onto a piece of cardboard and then cut it out.
- Gather fall colored leaves and other nature items to use for the jack-o-lantern facial features.
- Use the hot glue gun to glue the leaves on the pumpkin. You can trim the edges if they go over.
- Lastly, use the hot glue gun to glue the face pieces on.
- Pumpkins can be displayed outside, in a window or your kids can just play with them 🙂
Notes
If you would like to preserve your jack-o-lanterns, you can either: press the leaves first so they are all dried out and retain their color or paint over the leaves with mod podge before putting the face on.
Leave a Reply