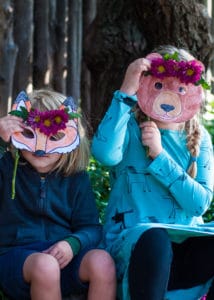
These cute Woodland Animal Masks combine a fun art project with lots of imaginary play. And it’s also a great way to say farewell to summer!
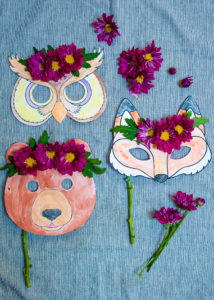
Usually this time of year, we take the kids to the Santa Fe Renaissance Fair. The kids love chatting with royalty, building fairy houses in fairy village, visiting the mermaid at the pond, catching a glimpse of the white unicorn tromping around, telling a joke to the troll at the bridge, and watching reenactments, but they especially love donning their their fairy wings and picking out their costumes. Sadly, it’s cancelled this year, because of the pandemic, but we still wanted to make a costume and play like we usually do. This year, we made these adorable woodland animal masks!
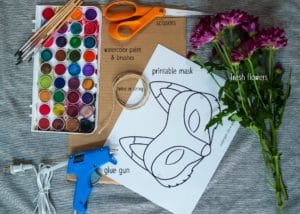
Materials needed to make woodland animal masks
- Printable mask templates
- Watercolor paints and brushes
- Scissors
- Cardboard
- Hot glue gun
- Fresh flowers
- String or twine (or a twig handle)
Making your woodland animal mask
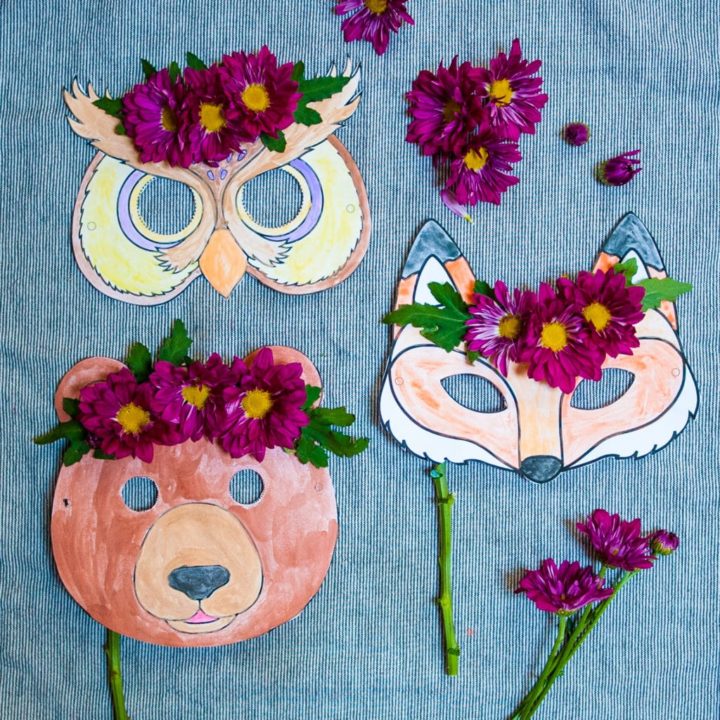
- Choose an animal mask – We found free mask templates at FirstPalette.com, but here are links to the three animals we chose:
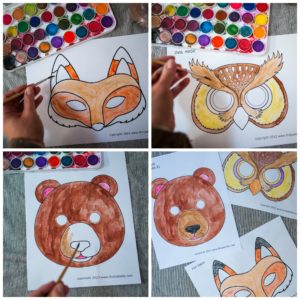
- Paint your animal mask – After you have printed out an animal mask, grab some watercolor paints and paintbrushes and start painting the animal’s face. My kids loved this part and kept asking me to print out more and more faces and they ended up painting about 12 different animals each, haha. Coloring the masks with markers, crayons, or colored pencils would work as well!
- Cut out your animal mask – Once the paint dries completely, grab a pair of scissors and carefully cut out the mask.
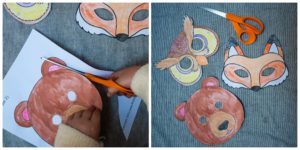
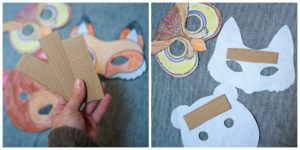
- Reinforce with cardboard – Either trace the entire mask on a piece of cardboard, cut it out and glue the paper mask onto the cardboard shape, or just cut out small strips of cardboard to glue at the forehead to make the mask stronger. You’ll need some kind of reinforcement or the paper will droop away from your child’s face as they play with it.
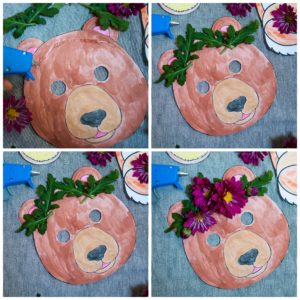
- Make a flower crown – To make our woodland animals extra whimsical and to also celebrate the end of summer, we decided to make flower crowns for our masks. (Just like when we made sunflower crowns last year, making these flower crowns is also a great way to say farewell to summer.)
- With a hot glue gun, add a strip along the animal’s forehead.
- Add a row of leaves or greenery.
- Put a dab of glue on the back of various flowers and arrange on top of the green strip of leaves.
- Add filler or more flowers, if you wish.
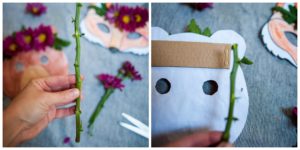
- Create a handle or tie on string – You could either tie on pieces of string to either side of the mask to tie around your child’s head, or grab a long straight twig and glue it onto the back of the mask to create a handle for the mask. This will allow your child to take the mask on and off very easily.
- Play – Now that your mask is complete, it’s time to find your imagination and play!
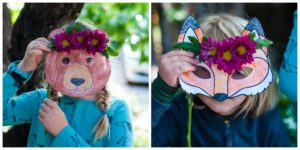
why Kids and parents love these woodland animal masks
- The art part of this project is so simple! All you do is paint or color the mask, cut it out, and create a flower crown. So, even young children can participate.
- Okay busy parents, this is a good project for you! It takes but a second to print out the template, and then once you’ve set your kids up to color and decorate their masks, they can work independently without much adult direction. An adult will really only need to help with the hot glue part, but otherwise, this is an activity kids can do mostly by themselves.
- Kids love wearing masks, love animals, and love make-believe. These woodland animal masks could keep your kiddos busy and playing for hours. Imaginary play is so important for children’s brain development and having an animal mask will really get their imaginations going!
- This would make a really fun forest school activity!
- This project made me feel a little sentimental. We had a cold snap last week and although it’s still technically summer, it really brought all those cozy fall feelings. We pulled out the sweaters and wool socks, made soup and cuddled up inside with blankets for a couple days. Now that it’s warm again, my kids and I are really making an effort to enjoy all the last bits of summer we can hold onto. And these whimsical woodland animals masks are a really sweet way to say farewell to summer as we transition into a new season.
How to Make Woodland Animal Masks
These cute Woodland Animal Masks combine a fun art project with lots of imaginary play. And it's also a great way to say farewell to summer!
Materials
- Printed paper mask
- Watercolor paints
- Cardboard
- String (or twig)
- Fresh flowers
Tools
- Paint brushes
- Scissors
- Hot glue gun
Instructions
1. Choose a free mask templates at FirstPalette.com, or use the owl, fox, or bear templates we included.
2. After you have printed out an animal mask, grab some watercolor paints and paintbrushes and start painting the animal's face. Coloring the masks with markers or crayons works as well!
3. Once the paint dries completely, grab a pair of scissors and carefully cut out the mask.
4. Either trace the entire mask onto a piece of cardboard, cut it out and glue the paper mask onto the cardboard shape, or just cut out small strips of cardboard to glue at the forehead to make the mask stronger. You'll need some kind of reinforcement for the mask or the paper will droop away from your child's face as they play with it.
5. Now, create a flower crown crown for your animal mask by adding a strip of hot glue along the animal's forehead, adding a row of leaves or greenery. Then, put a dab of glue on the back of various flowers and arrange on top of the green strip of leaves. Add filler or more flowers, if you wish.
6. You could either tie on pieces of string to either side of the mask to tie around your child's head, or grab a long straight twig and glue it onto the back of the mask to create a handle for the mask. This will allow your child to take the mask on and off very easily.
7. Now that your mask is complete, it's time to find your imagination and play!
Leave a Reply