These Tissue Paper Sunsets are fun kid’s craft project and they bring some brightness and color to any room you hang them in!
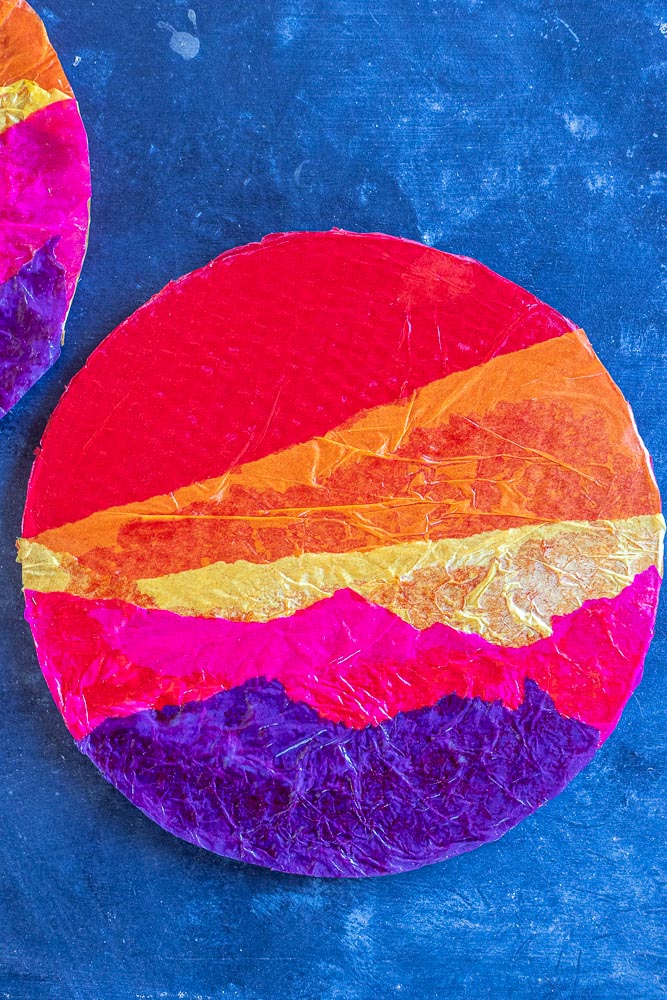
This Tissue Paper Sunset Craft was something I just randomly thought of because I happened to have a lot of tissue paper lying around and then this round piece of cardboard came from a frozen pizza we ate haha. My kids loved making them and they ended up turning out so beautiful so I wanted to share them with you all!
We get some really beautiful sunsets here in New Mexico and I Love this craft because it’s a kid friendly way celebrate them! Sunsets can be so many different colors so it’s fun to use your favorite colors in this sunset craft. We made two of these and we hung them in the kid’s rooms and they absolutely love looking at them.
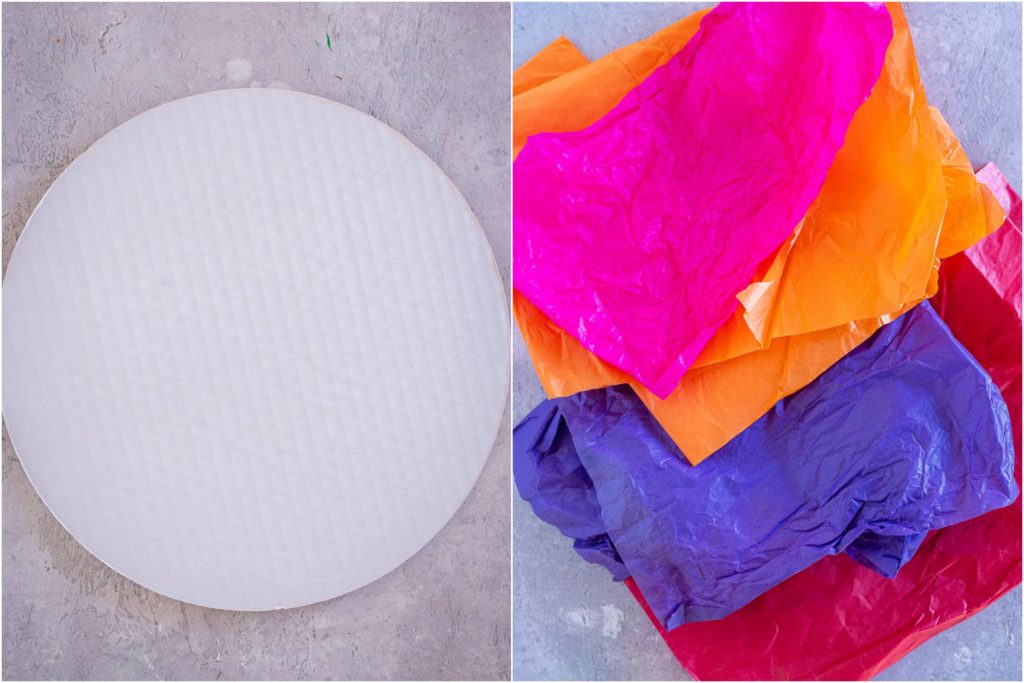
what you’ll need to make these tissue paper sunsets
- Cardboard – You can use any shape of cardboard you like. I was inspired by this round piece of cardboard that came in a frozen pizza box but any shape would be great. I also liked that this cardboard was white so it didn’t make any of the colors look too dark, but regular, brown cardboard would also work great.
- Tissue Paper – You can use any color of tissue paper you like. I happened to have quite a few bright colors and thought they worked well for a beautiful, vibrant sunset.
- Mod Podge – I first tested this sunset craft out using a glue stick and it bled through the tissue paper a bit and didn’t look great in my opinion. I then tested it using mod podge and I love how it creates a shiny finished texture.
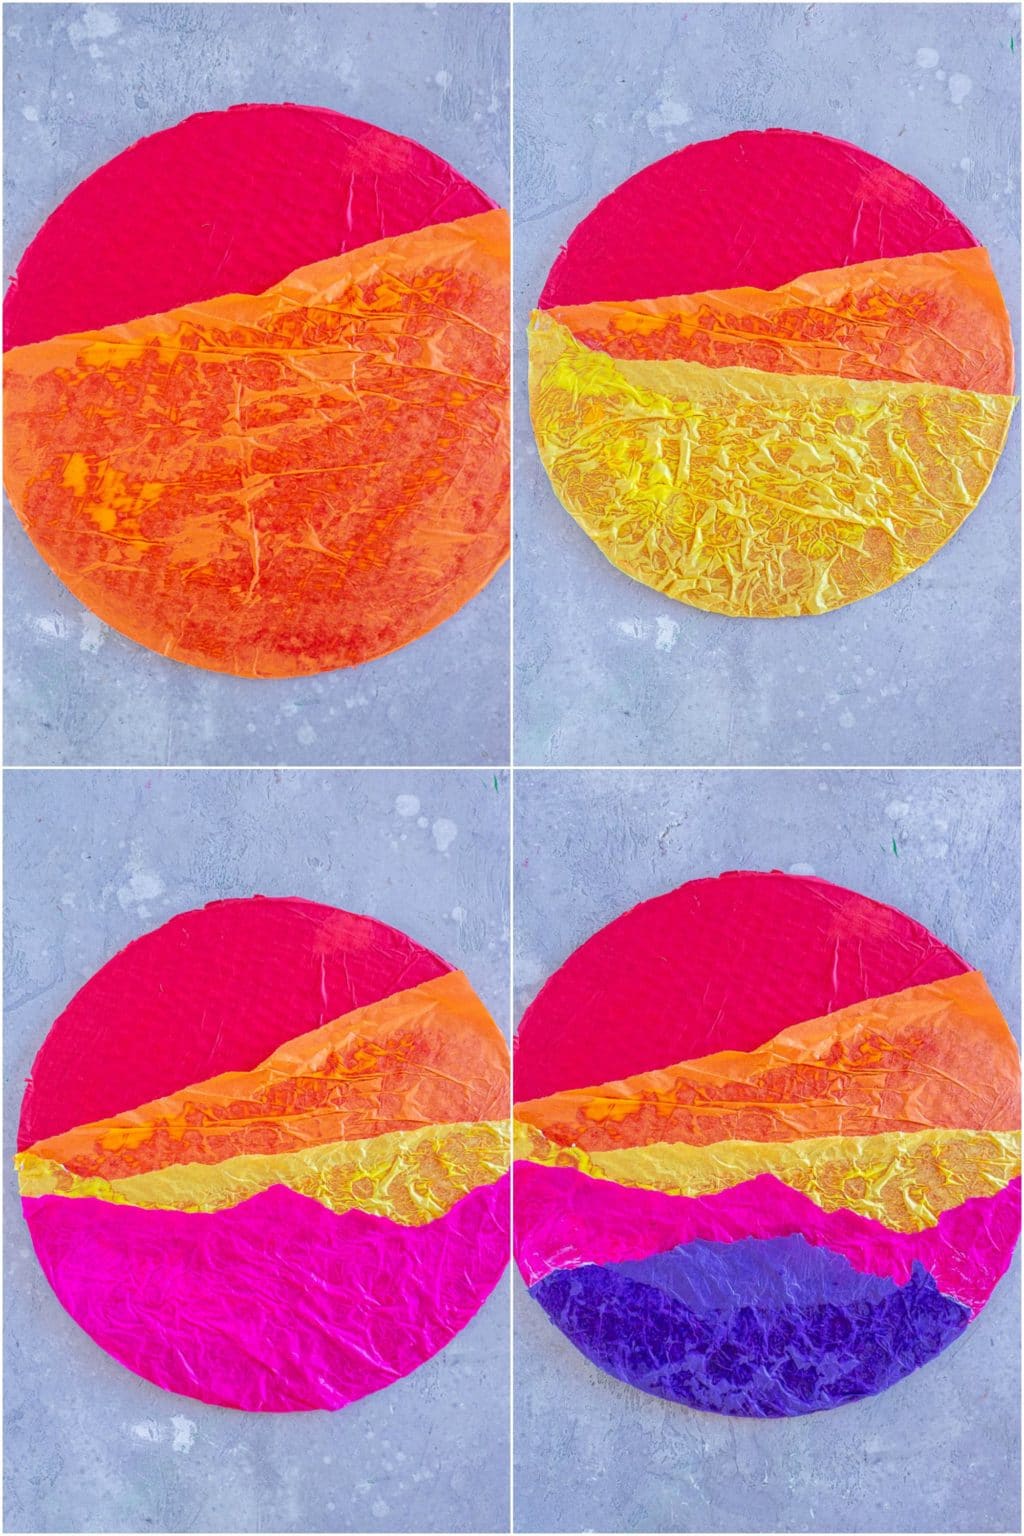
how to make this beautiful sunset craft
There is really no right or wrong way to make these! Your child is encouraged to get as creative as they want. Here are a few steps to follow:
- Choose a few different colors of tissue paper that you want to use for your sunset. Paint the entire piece of cardboard with a thin layer of mod podge and then lay down your first color. You want this color to cover the entire piece of cardboard. Trim off any edges that hang over your cardboard.
- Pick out your next color and tear the top of it so it’s a little uneven and organic looking. Spread the area that you are planning to cover with mod podge and then lay your next layer down. Repeat until you are finished with all your colors.
- Paint mod podge over the entire sunset and let dry completely.
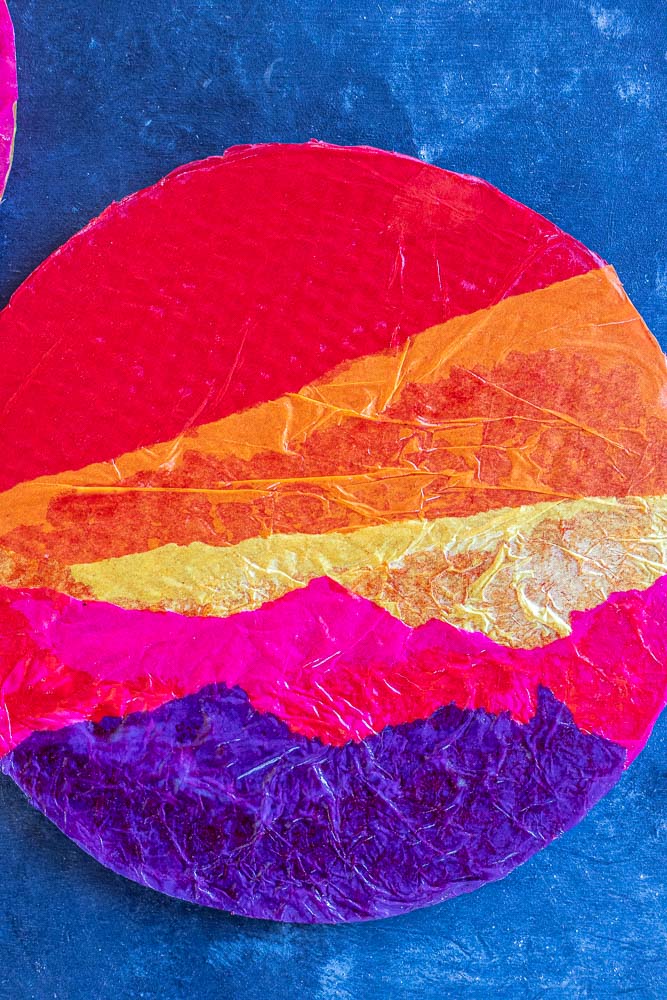
how to enjoy your tissue paper sunset
You can do whatever you want with these! Here are a few ideas that we came up with:
- Hang it on the wall as a beautiful piece of artwork.
- Use it as a placemat.
- Throw it like a frisbee 🙂
Let us know what other ideas you have!
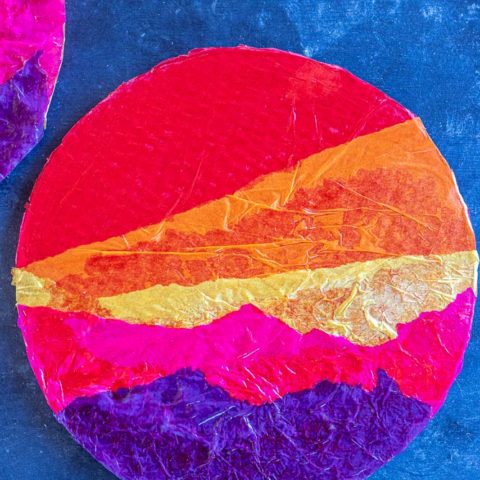
Tissue Paper Sunsets
These Tissue Paper Sunsets are fun to make and so beautiful!
Materials
- Cardboard
- Tissue Paper
- Mod Podge
Tools
- Scissors
Instructions
- Cut your cardboard to the size and shape that you want. Pick out a few colors of tissue paper that you like. I used 5 but you can use more or less if you want.
- Paint a thin layer of mod podge onto the entire piece of cardboard and place one piece of tissue paper down to cover the whole piece. Trim off any excess tissue paper that hangs over the cardboard.
- Tear the top of the next piece of tissue so it's a little jaggety and not perfectly straight (if desired), decided where you want to place the tissue paper and then cover that area with a thin layer of mod podge. Stick your tissue paper down and cut off any excess. Repeat until you have used all your colors.
- Once finished paint a thin layer of mod podge over the entire tissue paper sunset and let dry completely.
Leave a Reply