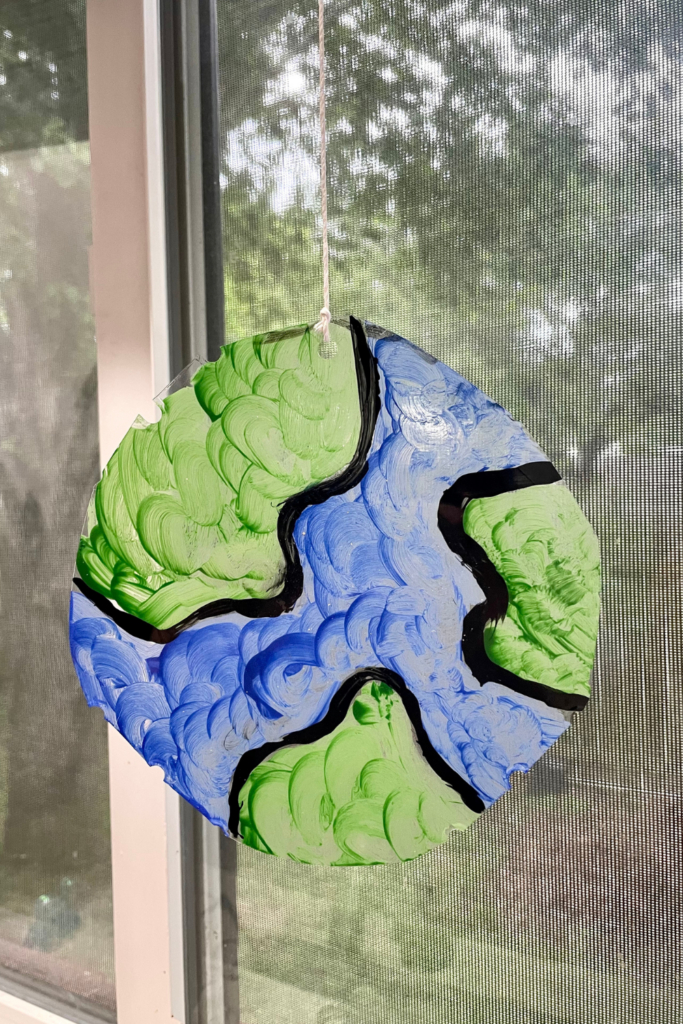
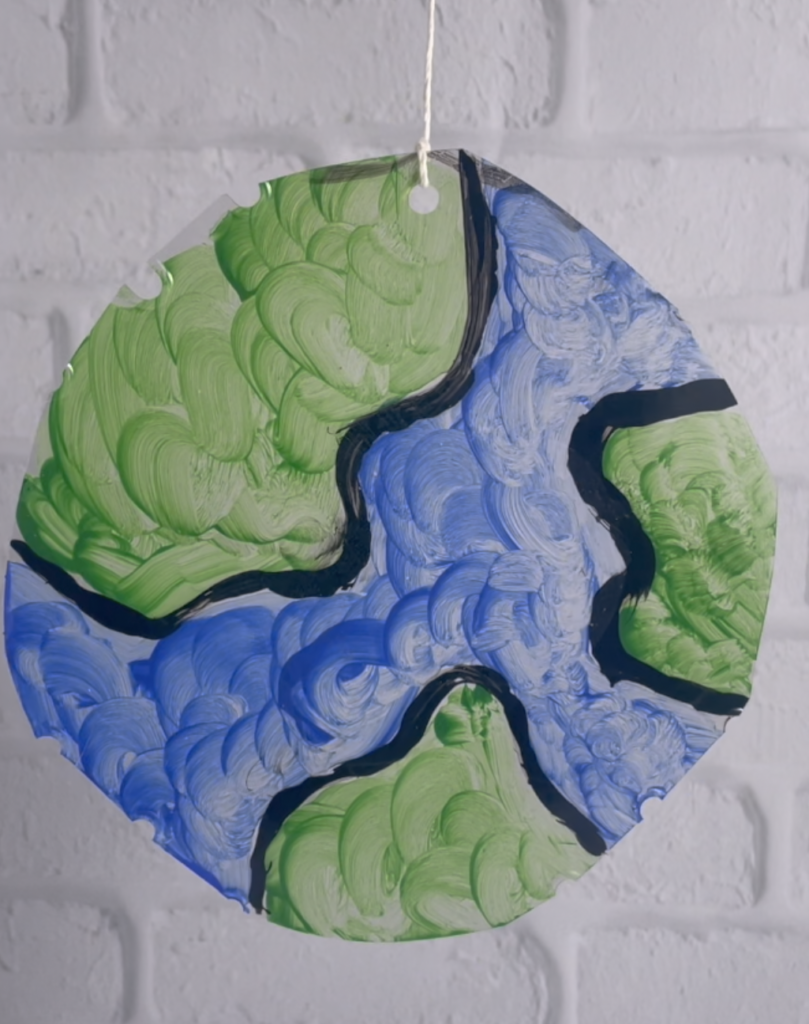
This stained glass planet earth craft is so quick and easy and a great way to celebrate earth day! I am always looking for ways to reduce, reuse and recycle and got inspired to create these with all of my leftover berry containers! This is one of my favorite crafts because it is quick and supports eco-conscious decisions by reusing plastic.

*Links contained in this post could be affiliate links and by clicking on them I may earn a small commission. This commission comes at no cost to you and supports the work I do here on the blog. All products I recommend are products I use and support.
This is a perfect earth day craft using acrylic paint, glue and recycled plastic. I honestly am not sure the glue was even necessary but the research I did on creating this stained glass earth said it was needed so I used it.
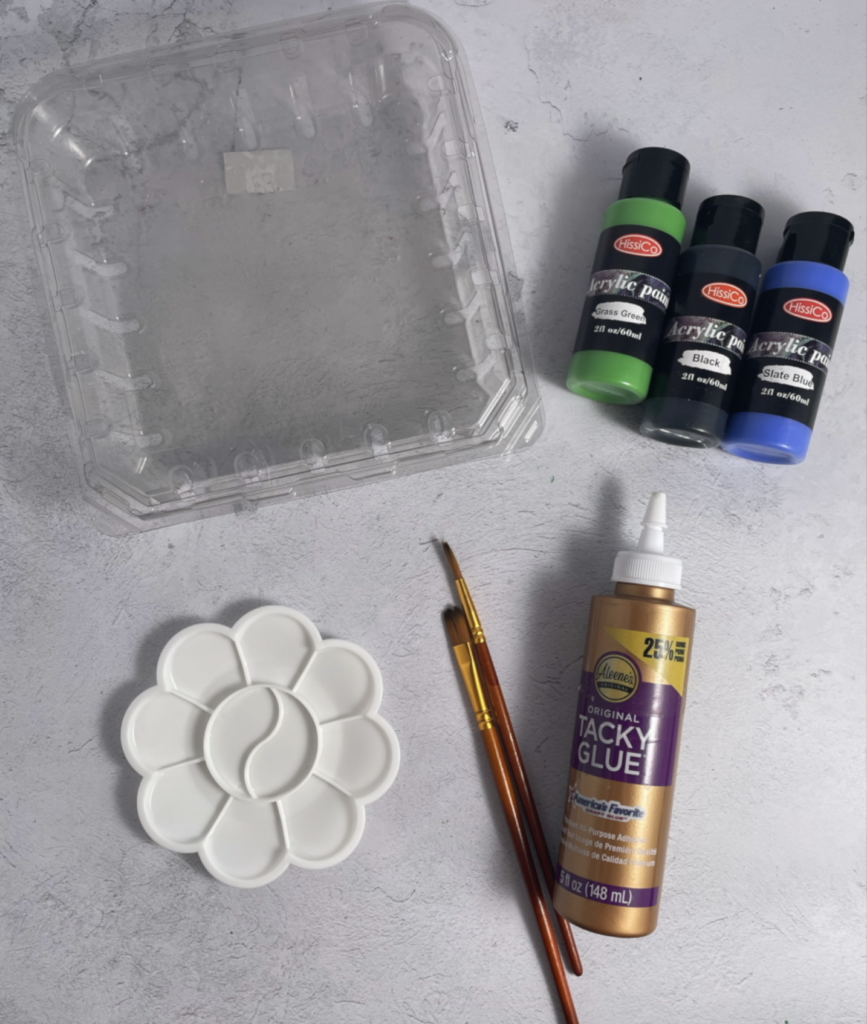
What do I need to make planet earth stained glass?

- Plastic sheet; I used a large blueberry container, the sticker peeled off super easy and left little residue. If I didn’t have a large container I would use two or three smaller containers and tape the together with clear tape. I think the effect would be very similar and the paint would make it hard to see any seems. You could also just make smaller ones.
- Acrylic paint; I used these non-toxic paints off amazon and really like them. A little goes a very long way and it truly is super easy to wash off!
- Glue; I used tacky glue but Elmers would work too. The idea is to help create thick lines like traditional stained glass. I honestly wouldn’t worry about using it if I didn’t have it, I think it’d be a very similar effect.
- Scissors, paintbrushes, a hole punch, and string were the other materials I used. A hole punch is for convenience as you could just cut/poke holes.
How to make plant earth stained glass?

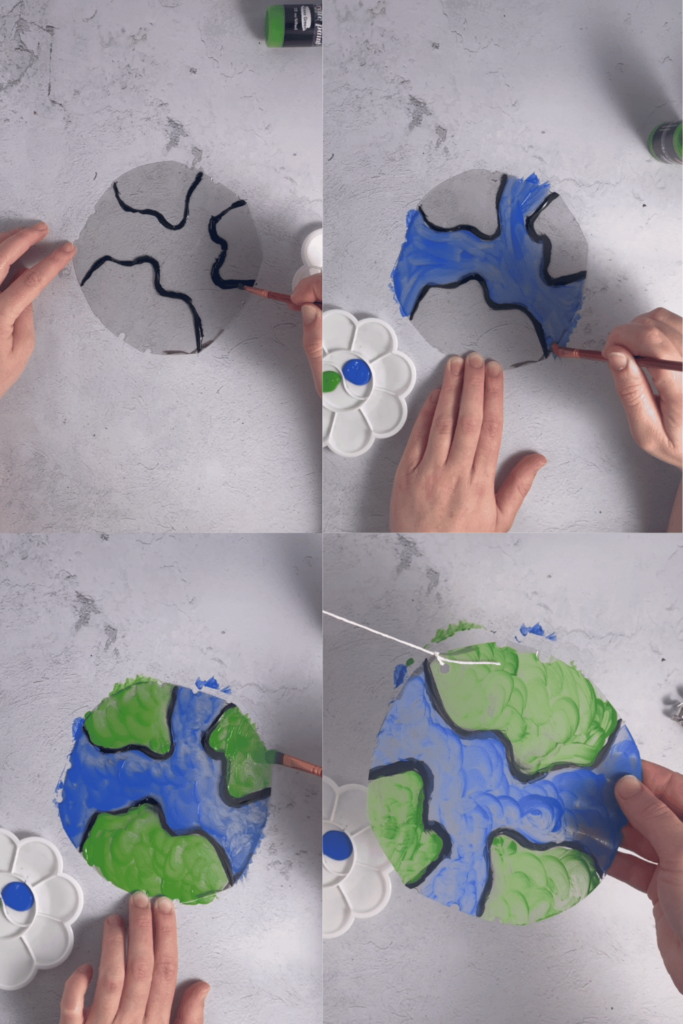
- First use something round to trace your circle shape. I used a plate but if I was making smaller ones I would use mason jar lids, peanut butter jar or freehand it.
- Second, use sharp scissors to cut out your circle shape. I was a bit concerned about the sharpness of the plastic but mine was totally fine. If your plastic is sharper I would consider adding tape around the edge to ensure no scratches are given to little ones.
- Third, mix a dab of black paint and dab of glue together (equal parts). I used about 1/4 tsp but if I was making more suncatchers I would of course increase the amount.
- Fourth, Use a thin paint brush to paint the lines of the continent’s onto your suncatcher circle. You can actually print a picture of earth and trace if you don’t want to freehand but I went ahead and just winged it.
- Fifth; let your black paint mixture dry for about 2 hours. This part can be skipped but it helps when painting the blue and green to keep your lines sharp and not mix the black and green together. I let mine dry about 30 minutes and it was mostly dry but the thicker parts took about 2 full hours to dry completely.
- Sixth; Use your green and blue plaint to fill in the areas of the ocean and land. I did circular motions to add some more texture on mine but honestly whatever design is great!
- Seventh; Let your paint dry for another hour depending on thickness.
- Eight; Use a hole punch or skilled hand to cut a hole near the edge of your suncatcher to put string through. String your suncatcher, hang it in the light and enjoy!
What are some substitutes for this craft?
Substitute for the plastic; You could use clear contact paper but I haven’t tested this so I’m unsure of how the paint would adhere. If I was using clear contact paper I would probably use something like paper plates (with the middle cut out) to adhere the piece of contact paper to in hopes of giving it some structure and shape.
Substitute for the paint; You could try using some other types of paint but again I haven’t tested this. I would choose tissue paper pieces over another type of paint to get a similar effect. The blue tissue paper and green tissue paper torn into small pieces would still be a fun craft for kids of all ages and may be even better your younger children.
If you don’t have tissue paper then you could color a coffee filter and use that in tissue papers place. I wouldn’t recommend using a random paper scrap(s) or small squares of construction paper because they won’t give the same translucent look as the paint or tissue paper.
What skills do these planet earth suncatchers support in kids?
This craft is so simple but still supports a ton of different skills in kids.
- Fine motor skills; The biggest skill this helps to develop is fine motor skills for young children.
- Hand eye coordination; It also helps with hand eye coordination if they are tracing or trying to create a specific pattern for their earth.
- Geography Skills; For older children this can be much more academic as you can actually create a map of the world, or part of the world to work on their academic geography skills.
- Environmental Impact Decision Skills; It is also helping develop our kids into earth-conscious people who start seeing the environmental impact of plastic and other items as things they can reuse on a regular basis versus just throw in the trash.
- Creativity; The other big skill this art project and all art projects promote is creativity, our older kids know what earth looks like so feel free to let them be creative with patterns, colors and materials if they choose.
- Light Reflection/Refraction; Suncatchers can be used to teach science based skills about light reflection and refraction

If you are looking for some other easy crafts to celebrate our wonderful planet be sure to check out earth mosaic tile puzzles, or my nature earth craft that you get to forage or hunt for your materials straight from Mother Earth.