These decorative Fall Leaf Squashes are an easy craft for kids and adults and they make a really beautiful addition to your usual fall decor.

In October, I kept seeing all these beautifully decorated pumpkins all over social media, like these ones from Little Pine Learners. They used pressed flowers to decorate theirs and although I was originally influenced by flowers and pumpkins, I thought, hmm, what do we have gobs and gobs of right now? Oh, right! Fall leaves and butternut squashes! We have so many pretty leaves this time of year and my pantry is chock-full of butternut squashes right now too. I asked my husband to grab one from the store for dinner, but he came home with about six last week! Haha.
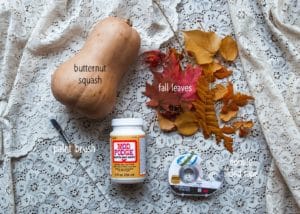
What you’ll need to make fall leaf squashes
- Butternut squashes – Choose medium sizes with smooth surfaces.
- Fall leaves – Choose lots of bright and colorful leaves. Use lots of different colors and types!
- Mod-Podge – We use non-toxic Mod Podge matte, like this one from Michaels.
- Paintbrush – Any old paintbrush will do!
- Double-sided tape – If you’d rather not use glue, double-sided tape is a good alternative.
How to make fall leaf squashes
- Pick out squashes and collect fall leaves. First, you’ll need to pick out your squash. I used butternut squash because I have a lot of them right now, but also because they provide a nice smooth surface to work with. But using pumpkins, spaghetti squash, delicata, or other decorative gourds will work too. And then, head outside and collect a variety of fall leaves. Choose lots of pretty autumn colors! Also, pick out fresh leaves, the dry crunchy ones won’t work very well.
- Wipe squash clean. Now, grab a paper towel and wipe off the surface of your squash to clean any dirt or grime left on it, so you have a totally smooth and clean surface.
- Add a layer of mod podge. Using a medium sized paintbrush, add a layer of Mod Podge matte all over the surface of your squash.
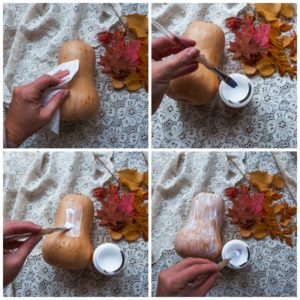
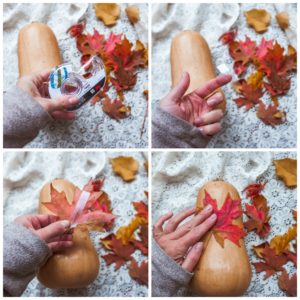
- Add leaves. While the layer of Mod Podge is still wet, start adding leaves. Putting the leaves down in any design or pattern is great, but try not to overlap the leaves or they won’t stay on as well.
- Add another layer of Mod Podge. Once you have your leaves arranged the way you like, add another thin layer of Mod Podge over the leaves. Sometimes you have to sort of hold them in place so that they don’t shift. And then let it dry.
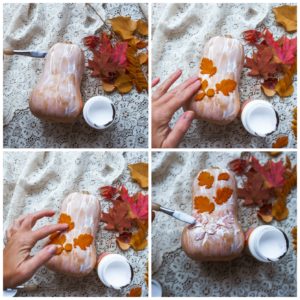
- Let dry, add a second layer of Mod Podge. Allow the layer of Mod Podge to dry for at least 10 or 15 minutes before adding a second layer. I only needed two layers of sealer, but you can use as many as you need to, because it will always dry clear.
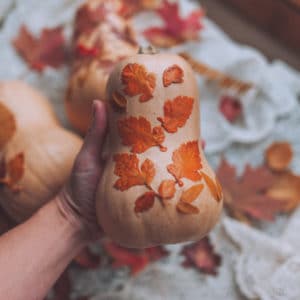
- Let dry overnight. Once you are done adding your layers of Mod Podge, allow your squash to dry overnight. By the morning, your leaves should be sealed and the glue will be totally dry and they will be ready to add to your regular fall decor!
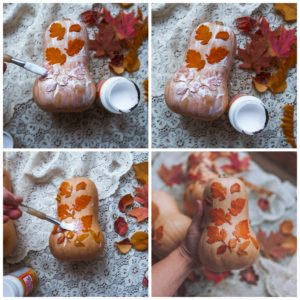
- An alternative way of decorating. Mod Podge is non-toxic, but I don’t recommend eating it, so if you’d like to do this craft and then actually eat your squash later, I would recommend using double sided tape to attach the leaves to your squash instead of using glue. It won’t be as secure of a hold, but it will still be a fun craft to do!
What’s to LOVE about fall leaf squashes
- Simple, inexpensive craft. We are all about simple crafts here at Sprouting Wild Ones! Like our Woodland Animal Masks and Black Bean Bats, we especially love the ones that require only a few materials that you probably already have on hand.
- Connects children to nature. This craft connects children to nature in more ways than one! Not only will collecting leaves get them outside and enjoying the fall weather and appreciating the colors and textures of fall, but it will also give them an opportunity to feel truly connected to the current season.
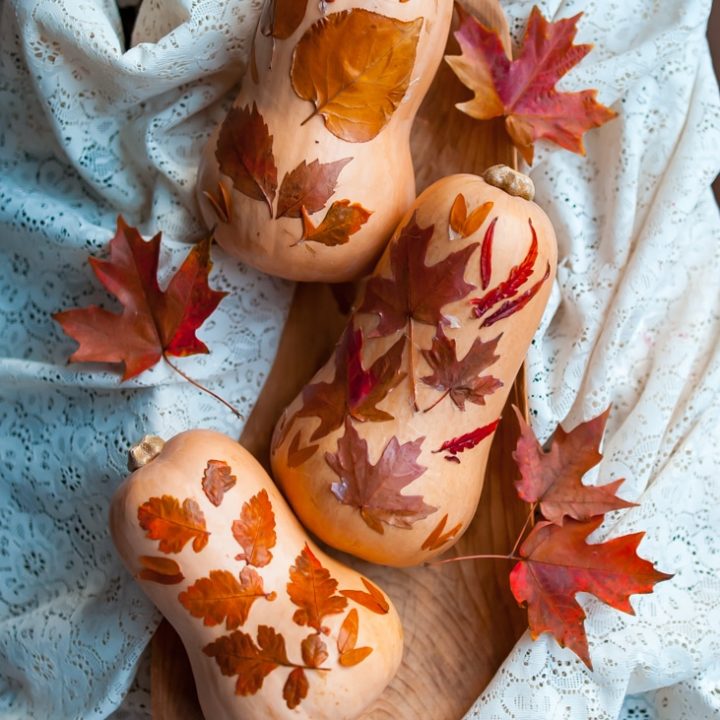
- A pretty Thanksgiving decoration. These Fall Leaf Squashes turn out so pretty and would make a really nice and attractive Thanksgiving decoration or center piece. Also, even days later the leaves are still very vibrant and beautiful!
How to Make Fall Leaf Squashes
Materials
- Butternut squash
- Fall leaves
- Mod Podge
Tools
- Paintbrush
Instructions
1. Pick out the squash you want to use. I used a medium sized butternut squash, but using pumpkins, spaghetti squash, delicata, or other decorative gourds will work too.
2. Head outside and collect a variety of fall leaves. Choose lots of pretty autumn colors! Also, pick out fresh leaves, the dry crunchy ones won't work very well.
3. Grab a paper towel and wipe off the surface of your squash to clean any dirt or grime left on it, so you have a totally smooth and clean surface to use.
4. Using a medium sized paintbrush, add a layer of Mod Podge matte all over the surface of your squash.
5. While the layer of Mod Podge is still wet, start adding leaves. Putting the leaves down in any design or pattern is great, but try not to overlap the leaves or they won't stay on as well.
6. Once you have your leaves arranged the way you like, add another thin layer of Mod Podge over the leaves. Sometimes you have to hold them in place so that they don't shift. And then let it dry.
7. Allow the layer of Mod Podge to dry for at least 10-15 minutes before adding a second layer. I only needed two layers of sealer, but you can use as many as you need to, because it will always dry clear.
8. Once you are done adding your layers of Mod Podge, allow your squash to dry overnight. By the morning, your leaves should be sealed and the glue will be totally dry and they will be ready to add to your regular fall decor!
Leave a Reply