This Wintery Slime Activity is a great sensory activity for all kids because it’s safe, eco-friendly, and super easy! Oh, and it’s ooey-gewy and slimy, so kids love it too!
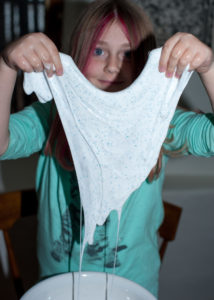
Every time I walk into Target with my kids, they immediately find the kid section and begin pleading for things: “please, please, please can we have this, well, what about that, okay, well please, please just let us have some slime. It’s just a little slime, mom!!” My answer has always been and will always be no.
Okay, I get it, kids! Slime is delightfully squishy and soft and oh, so fun to play with. But sorry guys, I’m just not as enthusiastic about all the chemical toxins in store-bought slime or the environmental impact of the slime and the one-use containers it’s stored in. I suggested that we make our own slime, and we made it out of Target without even a minor meltdown! Read on to learn how to make your own homemade wintery slime.
What you need for this Wintery Slime Activity
- Borax – Borax is commonly used as a household cleaner and laundry booster. You may already have some in your cupboard! It’s actually sodium borate and a boron compound, mineral, and salt of boric acid. Borax is natural and has no inherently toxic ingredients. Click here to learn more about it. I bought a one-pound bag on Amazon for $7, but you can find it in most supermarkets.
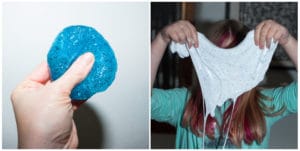
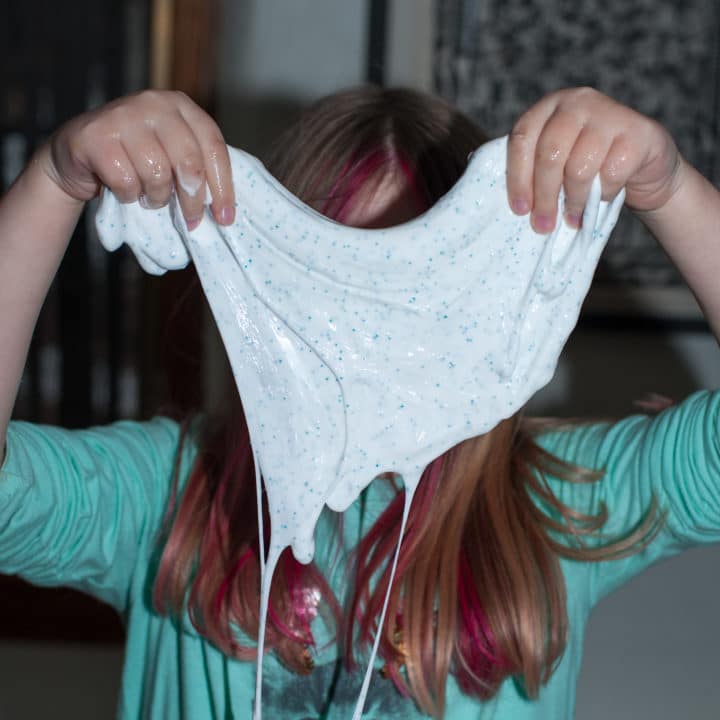
- Glue – School glue is the other key ingredient. We made two different batches. We made “blue-ice slime” using Elmer’s clear glue and then we made “snow-white slime” using Elmer’s white glue.
- Water – Using warm tap water worked best.
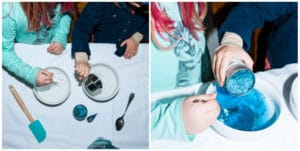
- Extras – To decorate your winter slime, you can use glitter and/or food coloring. We used blue and silver biodegradable glitter and blue food coloring to make it look icy and snowy.
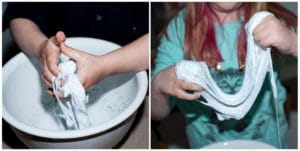
How to make wintery slime
- This activity so easy and quick to do! It’s literally a three-minute, three-step process which leads to hours and hours of fun!
- Add 1 teaspoon of Borax to 1 cup of warm water, stir until dissolved.
- Add 1/2 cup of Elmer’s glue to 1/2 cup of warm water, stir until combined. (You could also add glitter or food coloring at this step if you’d like.)
- Mix the Borax mixture and the glue mixture together and you will immediately see the chemical reaction and it will begin to thicken and become goopy and ooey-gewy and slimy within seconds. My kids abandoned their spoons at this step and just dove right in with their hands.
Why we love This Wintery Slime Activity
- It’s safe. The two main ingredients are glue and borax. Most household glues are nontoxic. We used Elmer’s school glue which is 100% safe and nontoxic. And Borax is just as safe to use! According to the Small Footprint Family, “it doesn’t cause cancer, accumulate in the body or in nature, or absorb through the skin.” Of course, an overdose of boron can be as dangerous as an overdose of zinc or iron, but with normal usage, Borax in no more harmful to our bodies than salt and baking soda are.
- It’s inexpensive. You can find a gallon of Elmer’s glue for $15, and the amount needed for this project would cost you less than a dollar! A one pound bag of Borax is only $7, and considering you only need a teaspoon for this project, that $7 bag of Borax could get you through hundreds of slime projects.
- It’s environmentally friendly. Safety for my kids is my top priority, but safety for our earth is equally important. Borax is natural and has no toxic ingredients, so with normal usage, it is not harmful to the environment. The glue we used is non-toxic and biodegradable so it is also eco-friendly. Scientists are pushing to ban glitter, because it has become a global hazard. Therefore, we used biodegradable glitter to decorate our Winter Slime.
- It’s a fun science experiment. I love teaching my kids science through fun activities. Just like our Erupting Pumpkin Activity we did back in October, this also requires an interesting chemical reaction. Slime is made after a chemical reaction between polyvinyl alcohol and borate ion. By adding the borax solution to the glue mixture, a chemical reaction takes place that creates slime. The glue molecules and the borax molecules react to create a new slimy substance.
- It’s messy, but cleans up quick. It require only a few supplies, and takes only minutes to prepare. It was so quick we made two different batches: an ice-blue slime and a snow-white slime. My kids, just like yours, are messy…but guess what, the left over glue-water and the splashes they left all over the table took a few seconds to wipe up and I just threw the bowls we used into the dishwasher. I cleaned up this messy project in about two minutes flat!
How to Make Wintery Slime
This Wintery Slime Activity is a great sensory activity for all kids because it's safe, eco-friendly, and super easy!
Materials
- Borax
- School glue
- Water
- Biodegradable glitter (optional)
- Food coloring (optional)
Tools
- Stirring spoons
- Bowls
- Measuring spoons
- Measuring cups
Instructions
1. Add 1 teaspoon of Borax to 1 cup of warm water, stir until dissolved.
2. Add 1/2 cup of Elmer's school glue to 1/2 cup of warm water, stir until combined.
3. Add biodegratable glitter or food coloring if you'd like.
4. Mix the Borax mixture and the glue mixture together to cause a chemical reaction which will create slime within seconds.
5. Store in an airtight plastic bag.
Leave a Reply