Making nature bracelets is a simple child-led multi-sensory outdoor activity that your children will really enjoy. Kids love creating art and exploring and being outside. This activity will get your child out in nature, exploring and using all their senses as they find items to decorate their bracelets with. 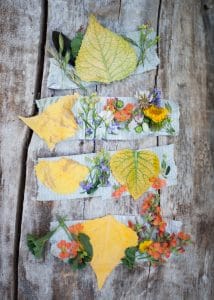
There is so much to love about this nature activity! It’s simple, inexpensive, and gets kids outside. Because kids have so much fun doing it, they don’t even realize they’re busy learning! I’ve been wanting to try making nature bracelets with my kids ever since I saw it on Kaplan Early Learning Company‘s website.
My kids love being outside and one thing they love doing is taking a walk around one of our favorite parks. But sometimes, doing the same old familiar walk is well, kind of boring after a while. In order to make our afternoon walk more interesting, we made nature bracelets! Although we’ve visited this park many times before, my kids were more engaged than usual and they saw this familiar place in a whole new way.
whAT MAKES THIS nature activity SO GREAT?
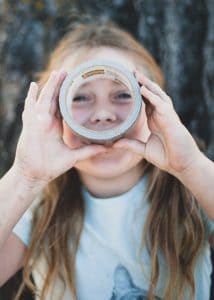
It’s inexpensive! Guess what? You only need only ONE [super cheap] supply for this. Duct tape! And you probably already have a roll lying around in a drawer somewhere.
It’s great for all ages! This outdoor activity is perfect for any child at any age or stage of development. However, kids probably won’t be able to do it independently until age three. Your child will need help attaching the tape to their wrist, but they will be able to collect items and decorate by themselves. Because duct tape is so sticky, kids will be able to add items on their own. Plus, all kids will really enjoy decorating their bracelets with the treasures they find.
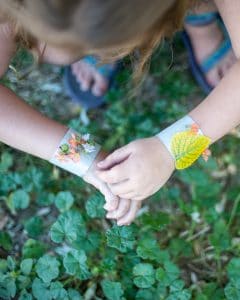
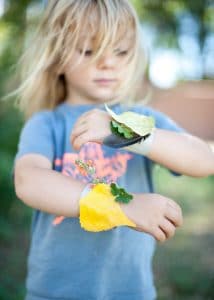
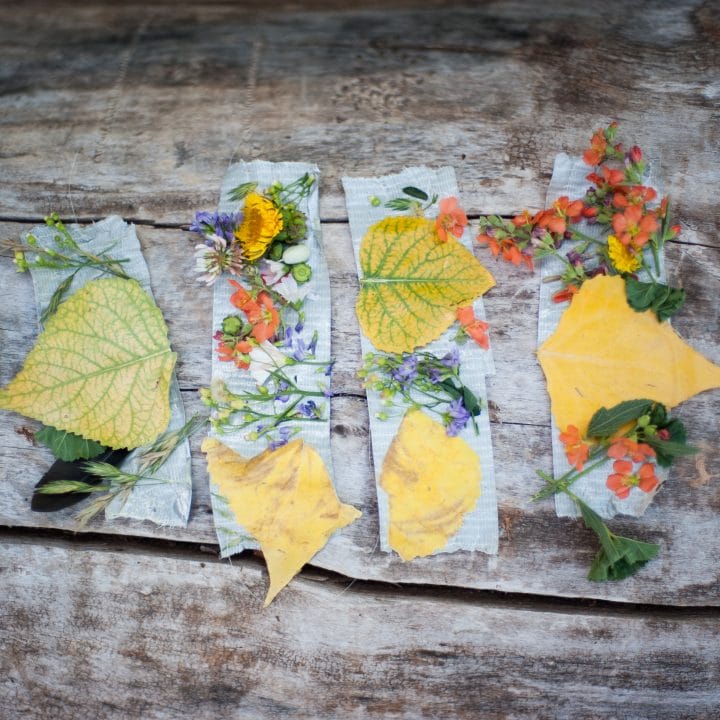
It can be done any time of the year! Spring and summer will lend many colorful wildflowers or berries to your child’s bracelet. Autumn bracelets will have red and golden leaves and maybe nuts and seeds. And in the winter, small pinecones, twigs or beautiful dried grasses could be used. The possibilities are endless! My son found several colorful leaves and a feather to add to his. And my daughter’s bracelets were almost entirely covered in flowers.
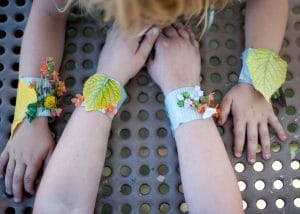
It’s so much fun, your kids won’t even realize they’re learning something! Making nature bracelets is a wonderful multi-sensory learning experience. It gives children an opportunity to use all their senses as they explore the outdoors. Your little ones can take their time and really observe what’s around them. They can identify sights, smells, and the textures of objects they find. And since this outdoor activity is child-directed, it will encourage their development in science, math, language and art skills.
how to make nature bracelets:
Attach the bracelet to your child’s wrist. Rip off a piece of duct tape long enough to wrap around your child’s wrist. However, make sure there is a little extra so they can slide it off their wrist when they’re done. Attach it to their wrist by wrapping the tape, sticky side out, around their wrist. Finally, attach the two sticky ends together to hold in place.
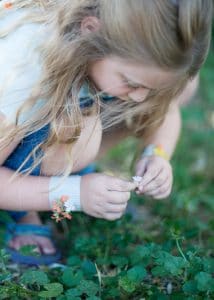
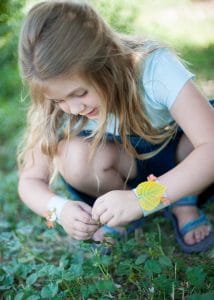
Decorate the bracelet. Now that you’ve attached duct tape to your child’s wrist, it’s time to decorate! Head off on a nature walk to gather items to put on your child’s nature bracelet. Let your child lead the way, but feel free to encourage them to fill their bracelets with a mixture of items in a variety of colors, sizes, and textures. You can also point out items around them. Flowers, twigs, grass, seeds, leaves, berries, nuts, bark, or feathers work well. You may also help your child stick the items onto the tape, if they need help. As your child adds an item to their bracelet, it may be a good opportunity to help engage them in their exploration. Try asking them to compare items or explain how it looks, feels, and smells.
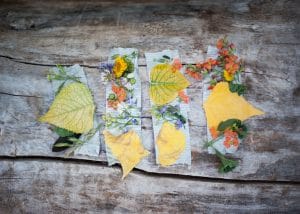
My kids enjoyed this activity so much that they asked for a second bracelet for their other wrist so they could decorate more! As they explored and gathered items, they learned a lot about the details of their environment. They examined the items and noticed the size, shape, color, texture, and smell of various flowers and leaves. Gathering these items also led to a conversation about bees and trees and weather and turning seasons.
This nature activity provided my kids with an excellent opportunity for multi-sensory outdoor exploring and learning. I think I will always keep a roll of duct tape in the car from now on, just in case we’re out and want to make another nature bracelet!
How to Make Nature Bracelets
Materials
- Duct tape
Instructions
1. Attach tape to your child's wrist by ripping off a piece of duct tape long enough to wrap around your child's wrist. Then attach it by wrapping it, sticky side out, around their wrist and attaching the two sticky ends together to hold in place.
2. Decorate the bracelet by adding a mixture of items onto the sticky tape. Things like flowers, twigs, grass, seeds, leaves, berries, acorns, bark, or feathers work well.
Notes
Let your child lead the way, but feel free to point out items and encourage them to fill their bracelets with a mixture of items in a variety of colors and textures and sizes. You may also need to help your child stick the items onto the tape. As your child adds an item to their bracelet, it may be a good opportunity to help engage them in their exploration by asking them to compare items or examine them and tell you how it looks, feels and smells, to encourage science, math, language, and art skills.
Leave a Reply