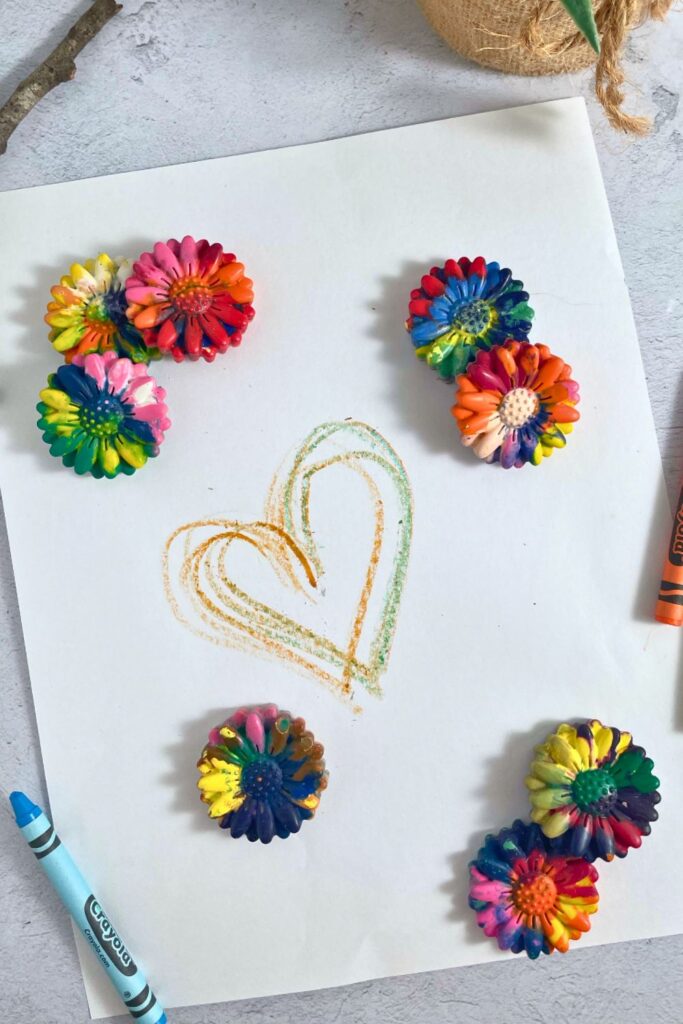
If you have young children then you probably have a bunch of old crayons or crayon pieces somewhere in your house. Instead of throwing out your old broken crayons you can reuse them to make your own homemade crayons. These DIY crayons make perfect new crayons for your child to use or an even been gifts or party favors. They are also eco-friendly (recycled materials) and a fun nod to science by touching on states of matter, and reversible changes!
This post contains affiliate links to products I use and recommend. Using this links means I could earn a small commission at no cost to you, but helps support the work I do here on this site! Thank you!
What materials do I need to make crayon molds?
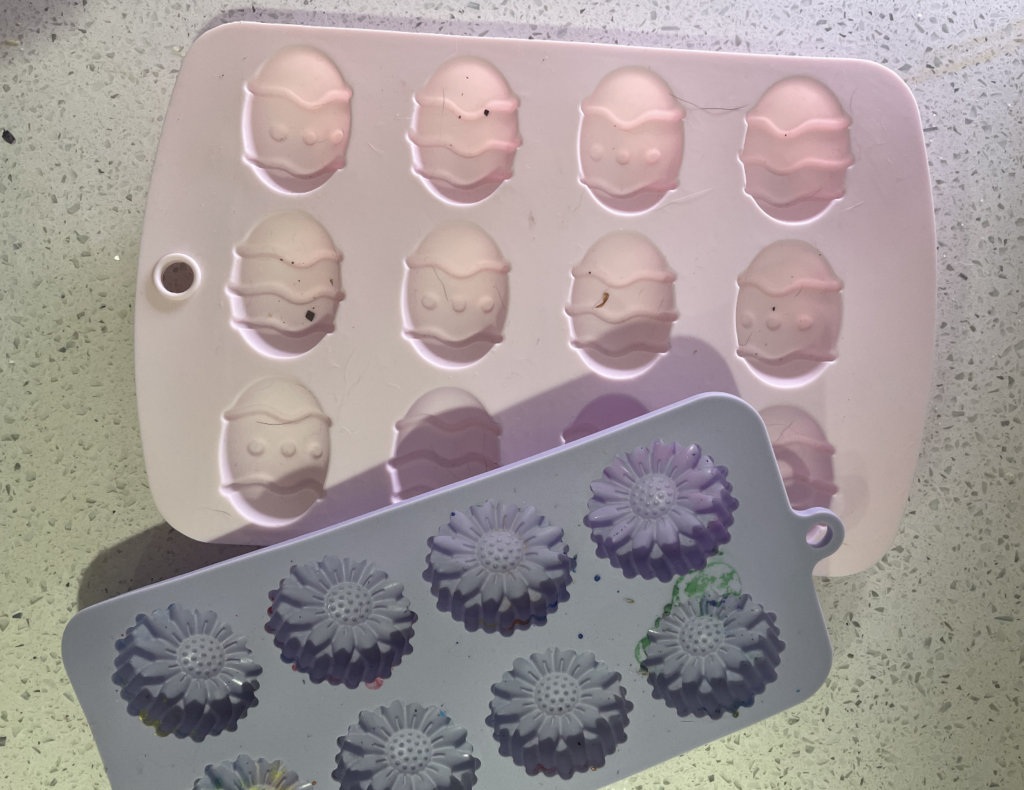
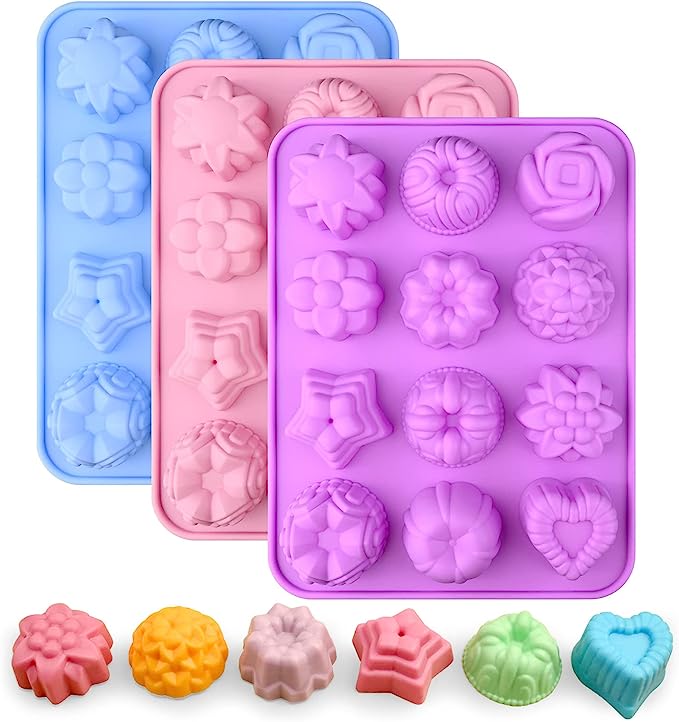
You really don’t need a many materials outside of broken crayons and silicone molds. I personally get most of my silicone molds from hobby lobby or Michaels on sale after a big holiday has passed. I can usually snag them for at least 50% off! You can also grab these here from amazon. If you are looking elsewhere for molds just know that many are called candy molds.
You also need a heat source. I use my oven but you could probably use a toaster oven as well. I read someone say they used a heat gun and held it over their crayons to melt them but I imagine that would take an incredibly long time to do.
A cookie sheet/baking sheet is also very helpful because it keeps your silicone mold flat when removing from the oven. I still spilled my crayon wax a little even with the cookie sheet so I can’t even imagine the mess I would have made without it.
A bowl of water is also helpful to soak the crayons a bit and make it easier to get the paper wrappers off.
Tips to make crayon molds.
Remove your wrappers before you break crayons into smaller pieces. This is not necessary but I prefer this because many crayon wrappers come off in one big sheet and its just faster to do before they are broken into small pieces.
Consider your color scheme before you put them in your molds. We made rainbow crayons because my kids are all about rainbows but you could also make solid colors, just two colors or really any variety.
Use a toothpick to swirl your colors into different designs.
Think about the thickness of your molds. I used a few molds that were pretty shallow and the crayons broke very quickly so I will use thicker molds next time.
How to make crayon molds.
Crayon molds are very easy to make and a fun project for little hands to help with.
First, remove the wrappers from the crayons. The easiest way to remove crayon wrappers is to place them in a bowl of water for 10-15 minutes to soak. Once they have finished soaking you can easily unwrap them or rub the wrapper off. Depending on the brand of crayons the wrappers will be easier or harder to remove. I used room temperature water but hot water could help them a bit more. Be aware the water did cause one brand of crayon to get sticky and all over our hands until it dried.
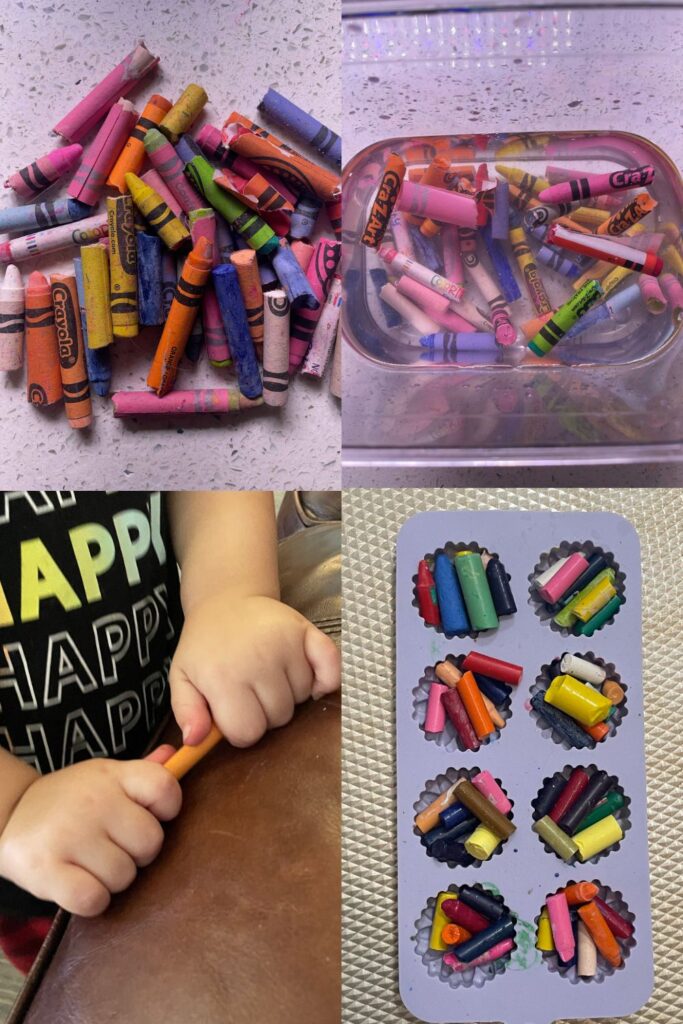
Remove them from the oven, place on a flat surface and let cool for 30 minutes. You can speed this up by placing your molds on ice cubes but I found this a bit hard to keep them level and not spill the melted wax. I used a toothpick to make sure they were mostly melted and to swirl them around to make different designs. This is hot wax and can burn you at this point so be careful when handling it.
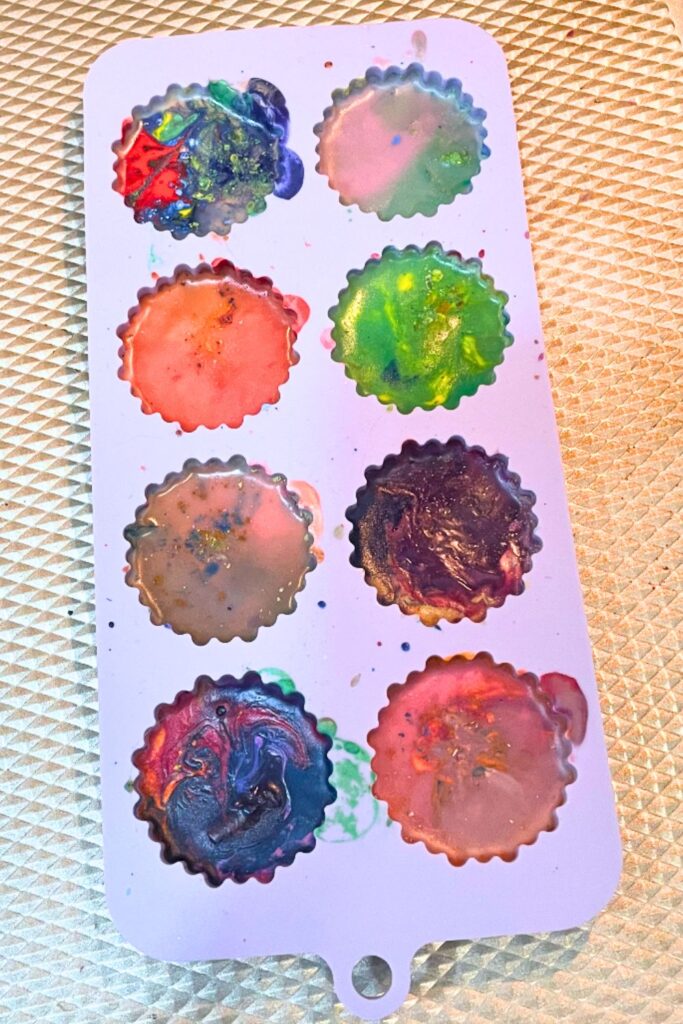
Once the mold is cooled and feels hard (I pressed on them gently to make sure), press the bottom of the mold on the outside to press your crayon shape out. I did not need a knife or anything on the edges because my molds were very shallow but a deeper mold may need to be loosened from the sides.
Use your crayons just like regular crayons or place in a pretty box to gift to a loved one or friend.

What are some alternatives to silicone molds to make crayon molds?
I do think the silicone molds produce the best results and are the easiest way to make tons of fun shapes but they aren’t the only way to make these.
You can use paper cups, a muffin tin, silicone ice cube trays or cookie cutters to make different shapes.
To use paper cups also know as baking cups or cupcake liners just fill them to your desired height and place on a baking sheet and follow the same directions.
Use a muffin tin just like you would a silicone mold. You’ll need a knife to get them out since you can fold them out like a silicone mold.
To use a silicone ice cube tray, you can use it just like a silicone mold but be aware of the oven temperature. Consider lowering the temp to avoid melting since these are probably not rated for the oven.
I read you can use cookie cutters but I am honestly not totally convinced this would work. I would use metal molds and place them on parchment paper, I would also place a cookie tray or glass dish onto of the cutters in an attempt to press them down a bit more and keep the wax from spreading. You should be able to use the same temperature if the cutters are metal as well but these are of course not oven rated so use caution.
Another alternative is melting your crayons in the microwave and pouring them into your mold. You could use legos, ice cube trays or other non-oven safe items to create fun shapes. Use a paper cup to put the crayons into and microwave them on high heat for about 4 minutes.
Is making crayon molds safe?
It depends on what your safety standards are but I believe yes. The most dangerous part is getting them out of the oven and possibly suffering a burn. Crayons are made from paraffin wax and color pigments so they are safe to melt. While there could be some chemicals released when you remelt them, it would be very minimal. I do want to note that I did notice a slight smell when melting but only when I was right by the oven, nothing that filled my home or anything.
Let me know if you make your own crayons and tag me on social media so I can see your beautiful creations.
These DIY crayon molds are so quick and easy to make. A great way to use your old crayons to make a new beautiful creation! 1. Remove all the paper wrappers from crayons. 2. Break the crayons into pieces that will fit into your molds. 4. Place your silicone mold full of crayons on a baking sheet and place it onto the middle rack of your preheated oven. 6. Cool for about an hour and enjoy! As an Amazon Associate and member of other affiliate programs, I earn from qualifying purchases.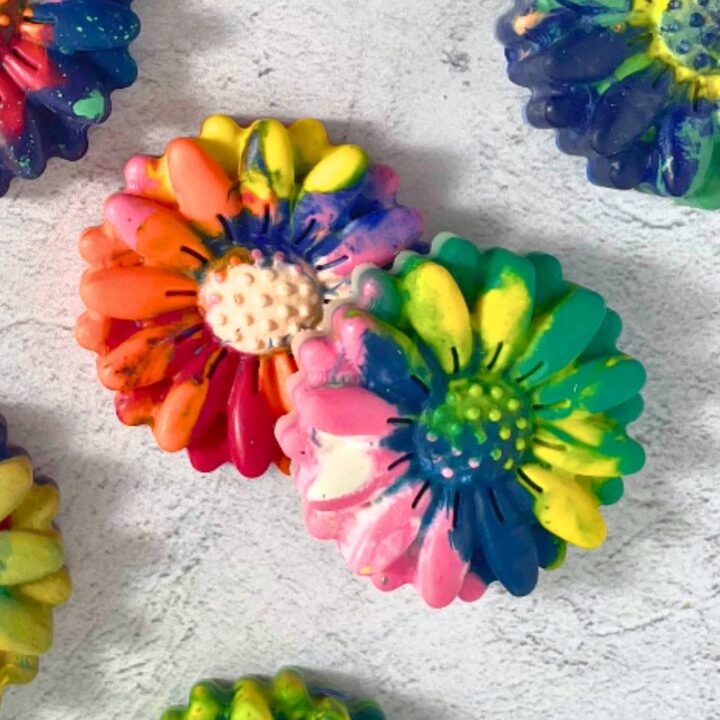
How to make crayon molds the quick and easy way
Materials
Tools
Instructions
3. Preheat your oven to 300 degrees.
5. Bake forr 10-12 minutes and then check every minute to see if they are melted.Recommended Products
Want to check out all my activities? Click here!
